

Things that went well:

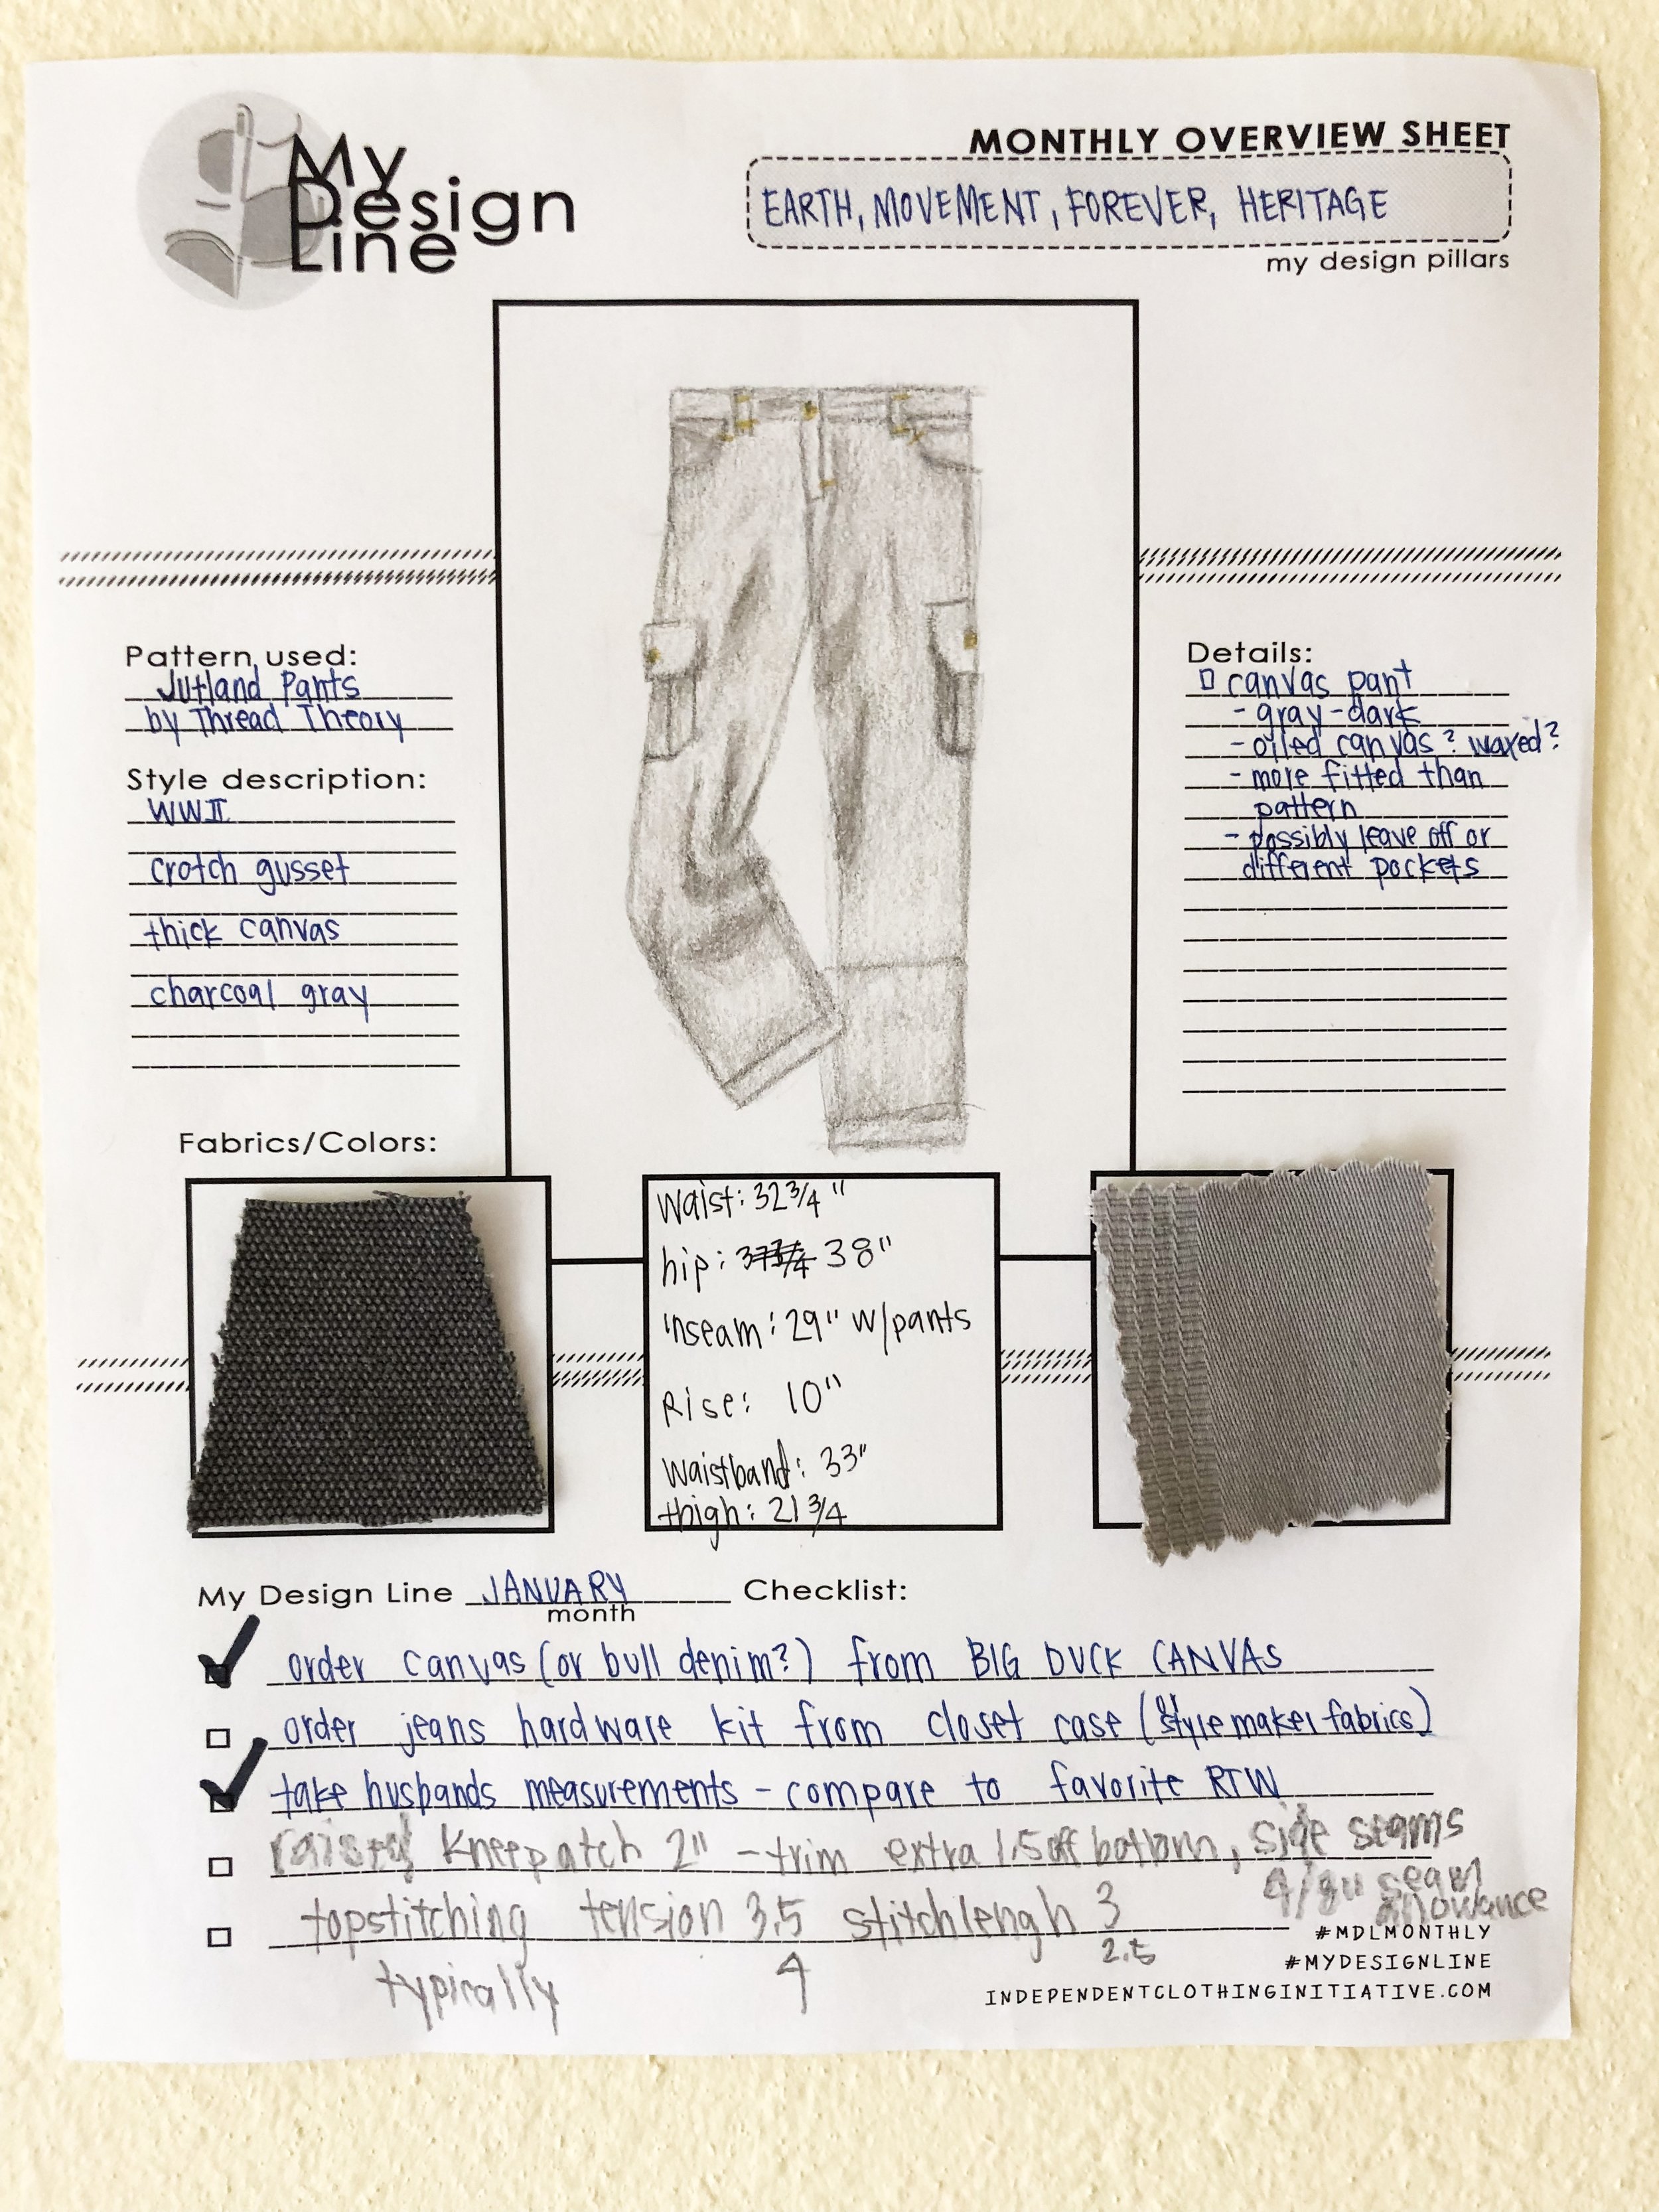
Use of the free My Design Line Monthly Overview Sheets found here (get your own by subscribing to ICI’s newsletter and having them sent directly to your inbox!). I printed them out, hashed out all the details, and then wrote on the bottom any additional notes on fit changes, etc. I’ve had them hanging on my sewing room wall all month to more easily refer to and jot down notes.
Planning, design, and finished product of pants - I was careful. I unpicked seams, measured twice (understatement), and didn’t rush. I am so pleased with the final product.
Small scale building of community and support - I enjoyed seeing what others were working on during the month, and most especially getting the support of my husband as we planned and made his first garment for 2019.
Things to improve:
Time management of completing projects - be more patient and flexible with my timeline (and start my projects I know will take longer and I want to be more careful with earlier in the month).
Have the right tools - My sewing is my art. It is disheartening to spend so much time on something only to have it not finished the way you want it to because you do not have the right tools (looking at you waistband).
Overall value of my work - I need to charge more for my skills. Ha! I realized how much I have learned and consequently how much more confidence I should display in my abilities. Sewing is a true and valuable skill. I am learning more daily.

As a refresher, for My Design Line 2019 I am making both a fashion line/collection for my husband and one for myself. My goal is to have our two lines intersect, with mine being a slightly more artsy (read fun!) version of his. It is a challenge that feels so exciting and empowering to me.
Here are our January Design Pillars/pants explained:
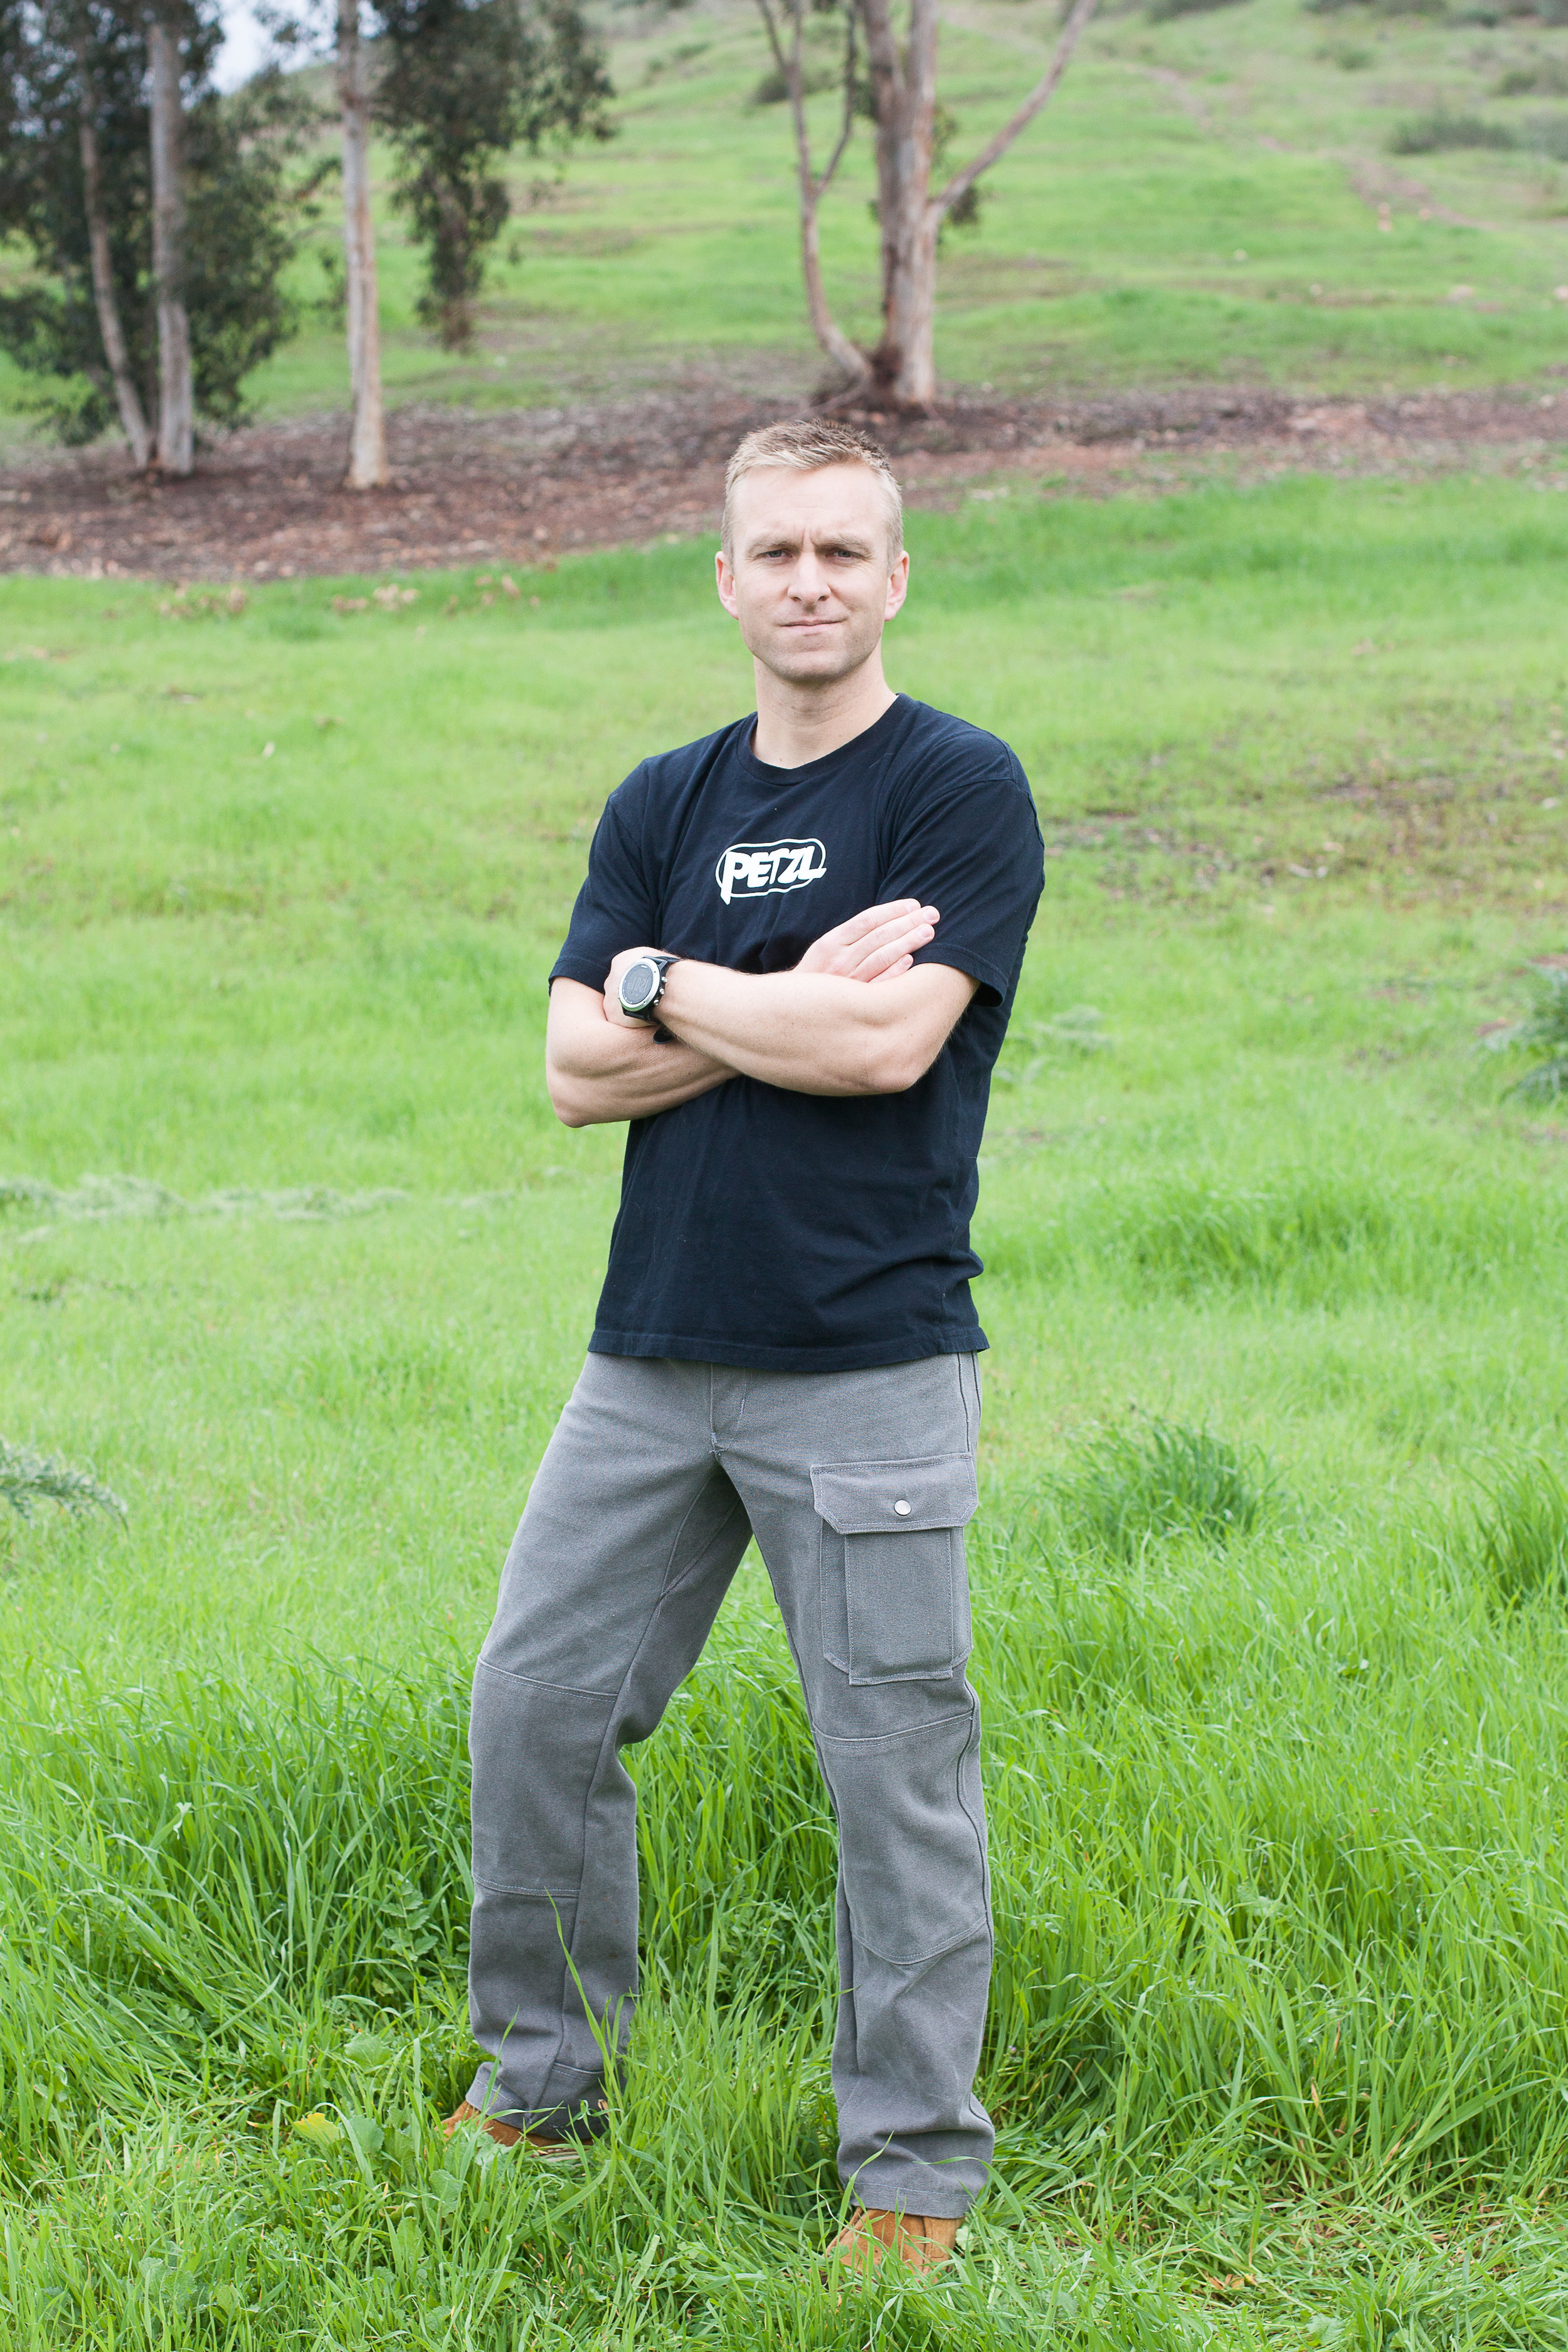
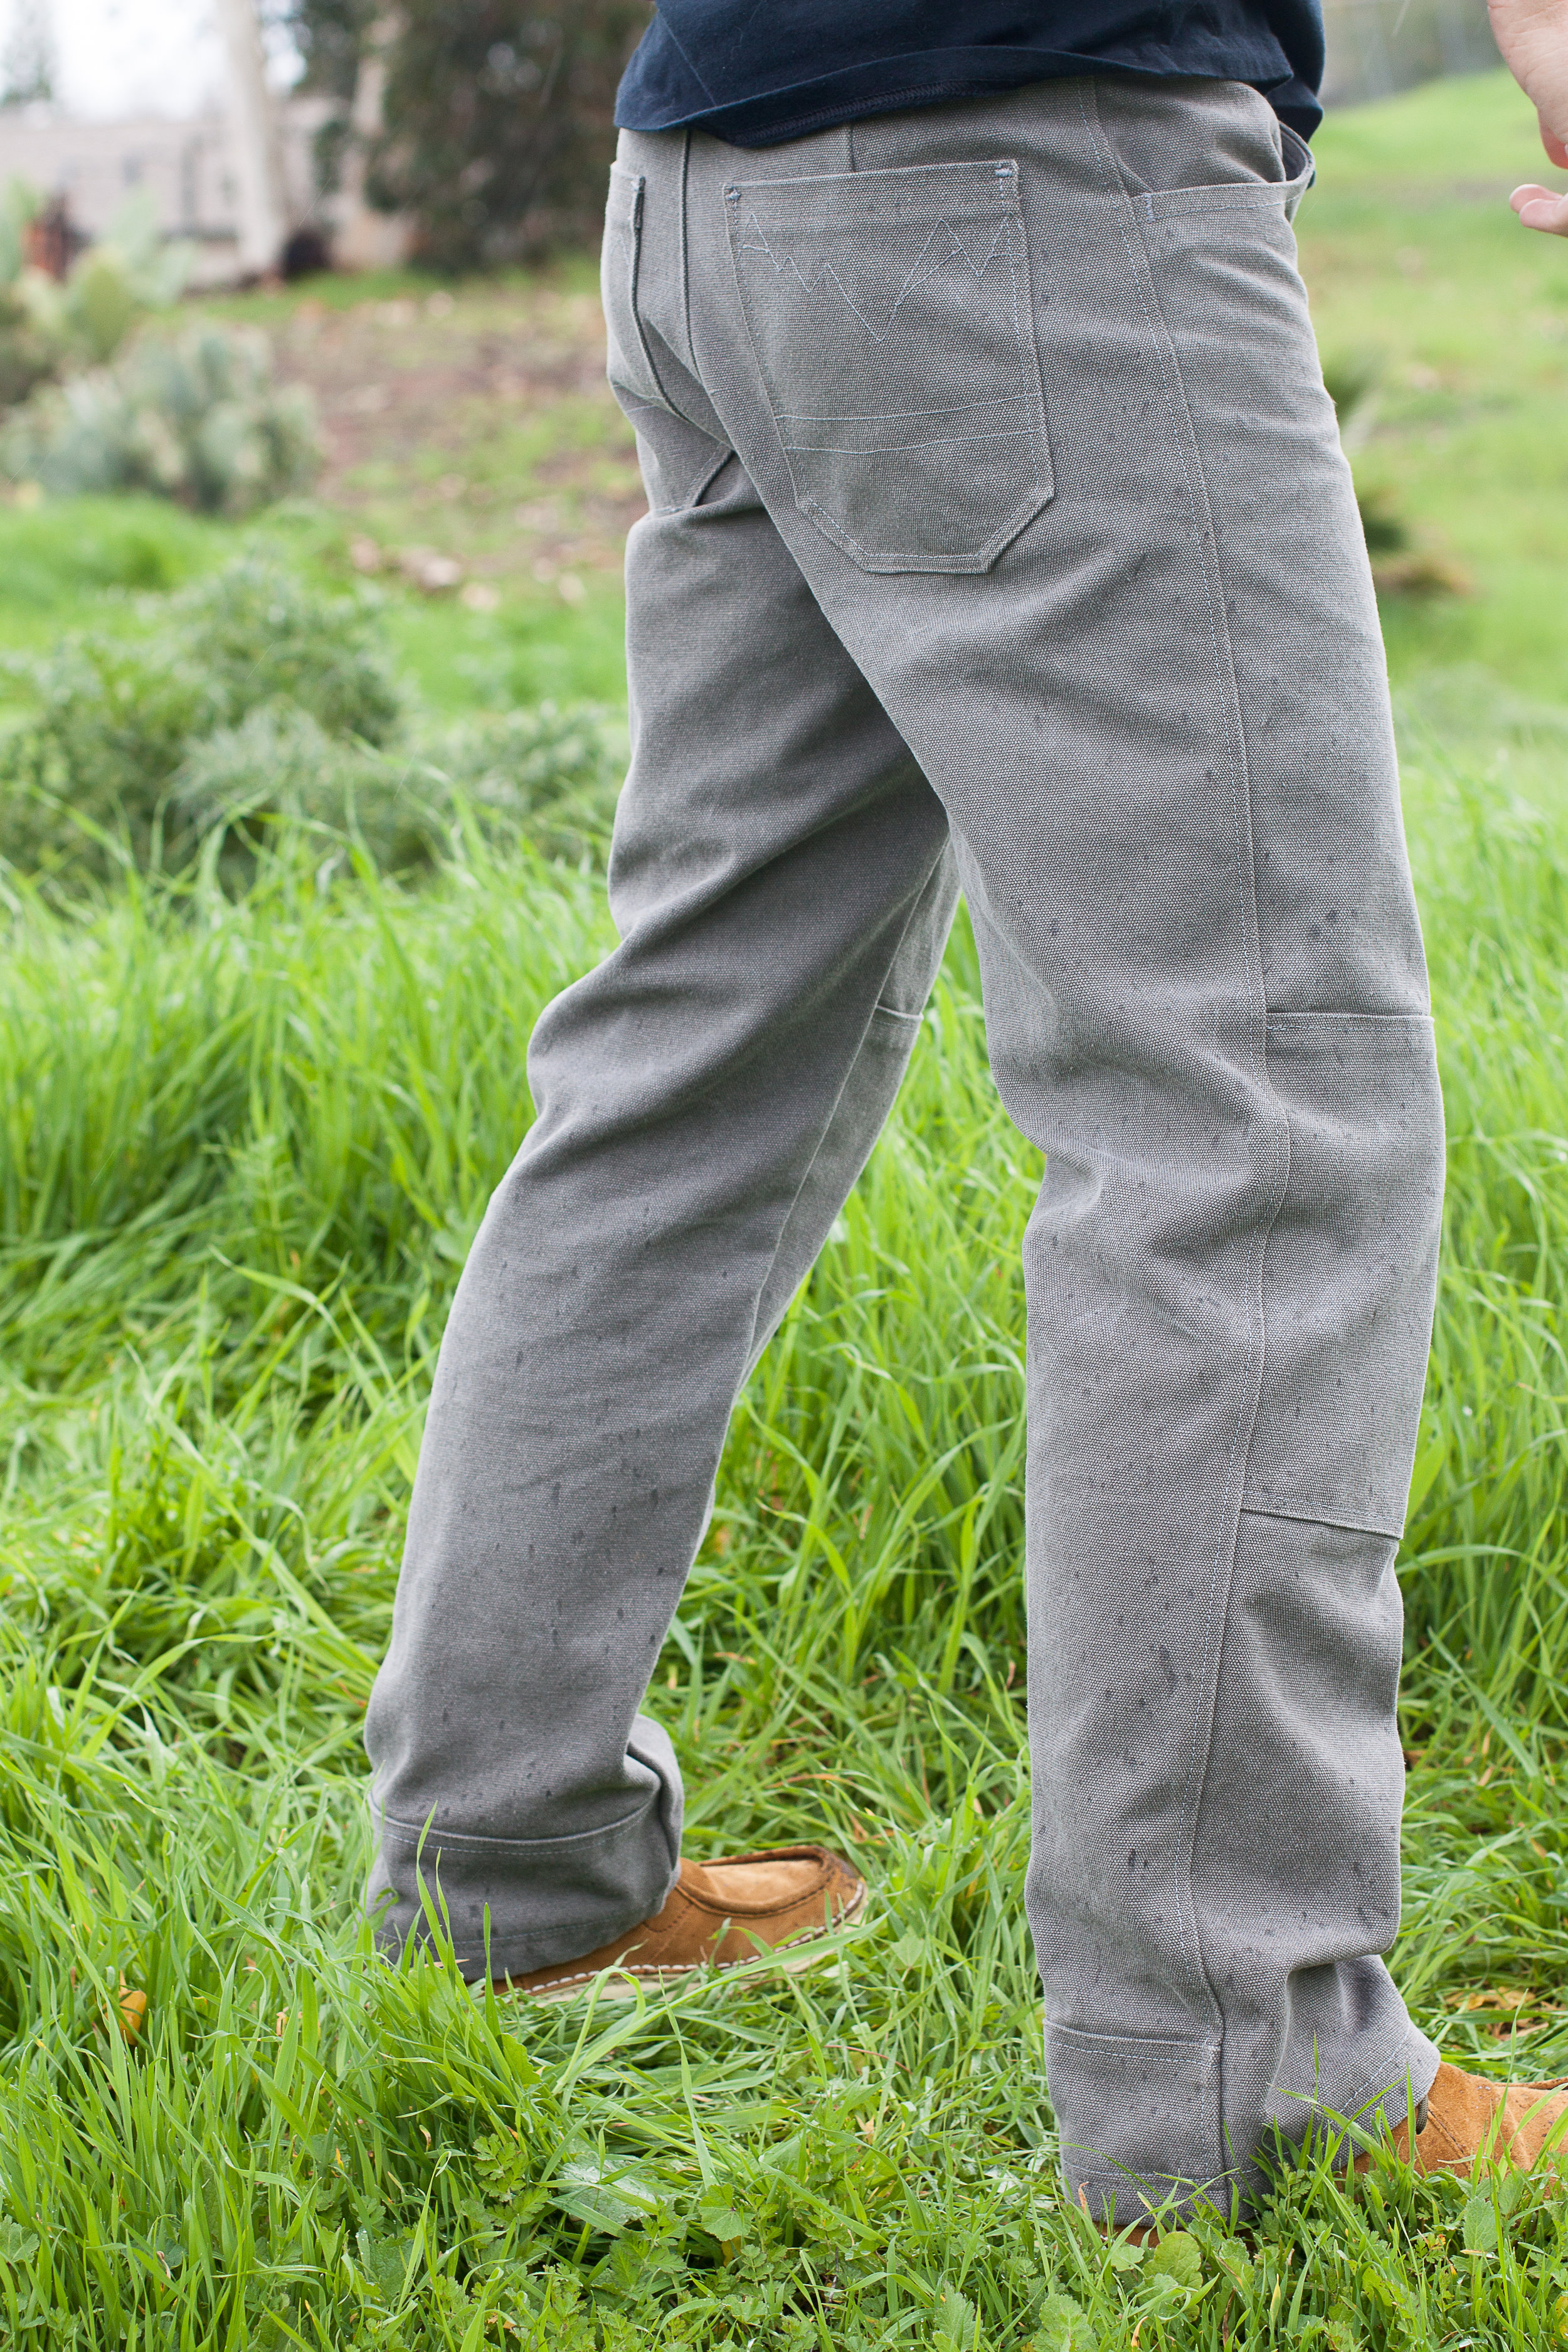
His Pants:
Earth: Dark gray color, rugged material able to withstand the outdoors.
Heritage: WWII inspired pants with side pocket and durability.
Movement: Gusseted crotch - I have never added one of these before. Luckily, and after trial and error and fear on my part, we discovered that Thread Theory has a blog post written about how to add a gusseted crotch to the Jutland Pants!
Forever: 12 oz vintage stone washed canvas - it is thick, durable, and substantial.

Details:
I did a 4/8” seam allowance on the side seams where the rest asked for a 5/8” to allow for a little more room.
My husband is 5’8” tall. I adjusted at the lengthen/shorten line on the legs, and then raised the knee patch accordingly.
I made a gusseted crotch. I sweat a bit over cutting into the pattern I had worked so hard on and messing it up, so I did as much research as possible. In the end it turned out perfect.
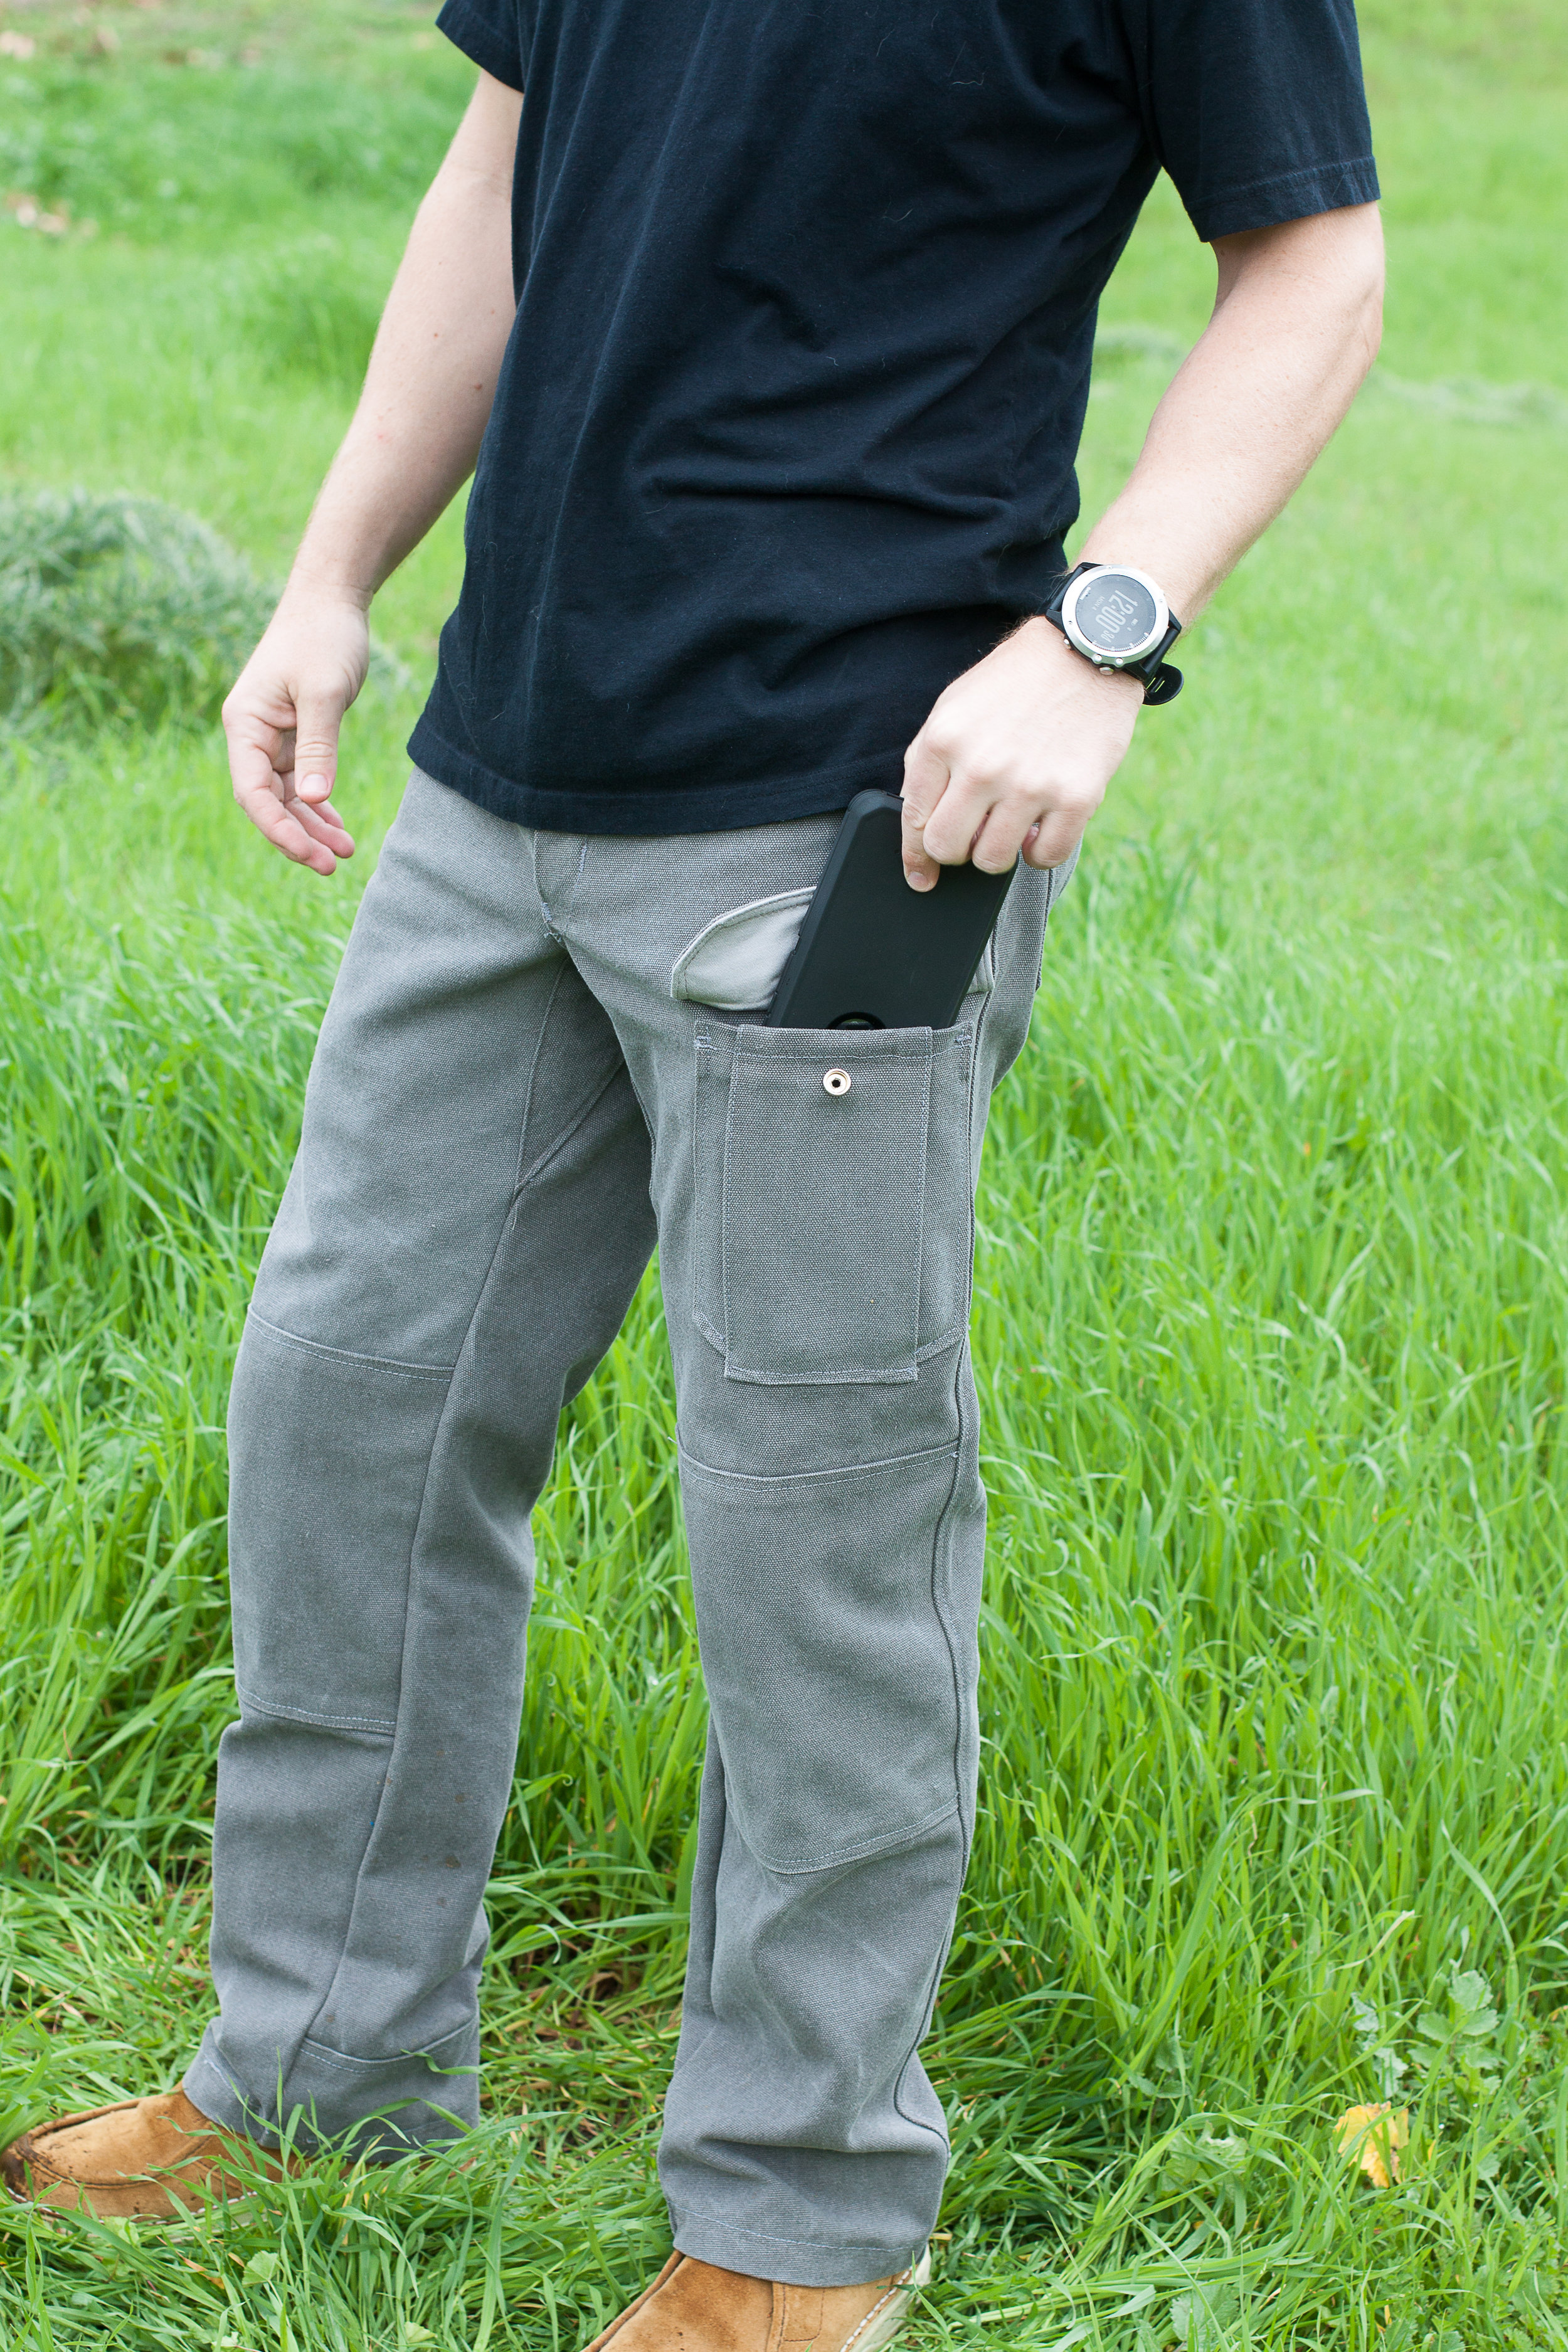
Jutland Pants have two cargo pockets on either side of the pant pattern. My husband asked that there only be one pocket on his front thigh that he could easily place his cellphone in.
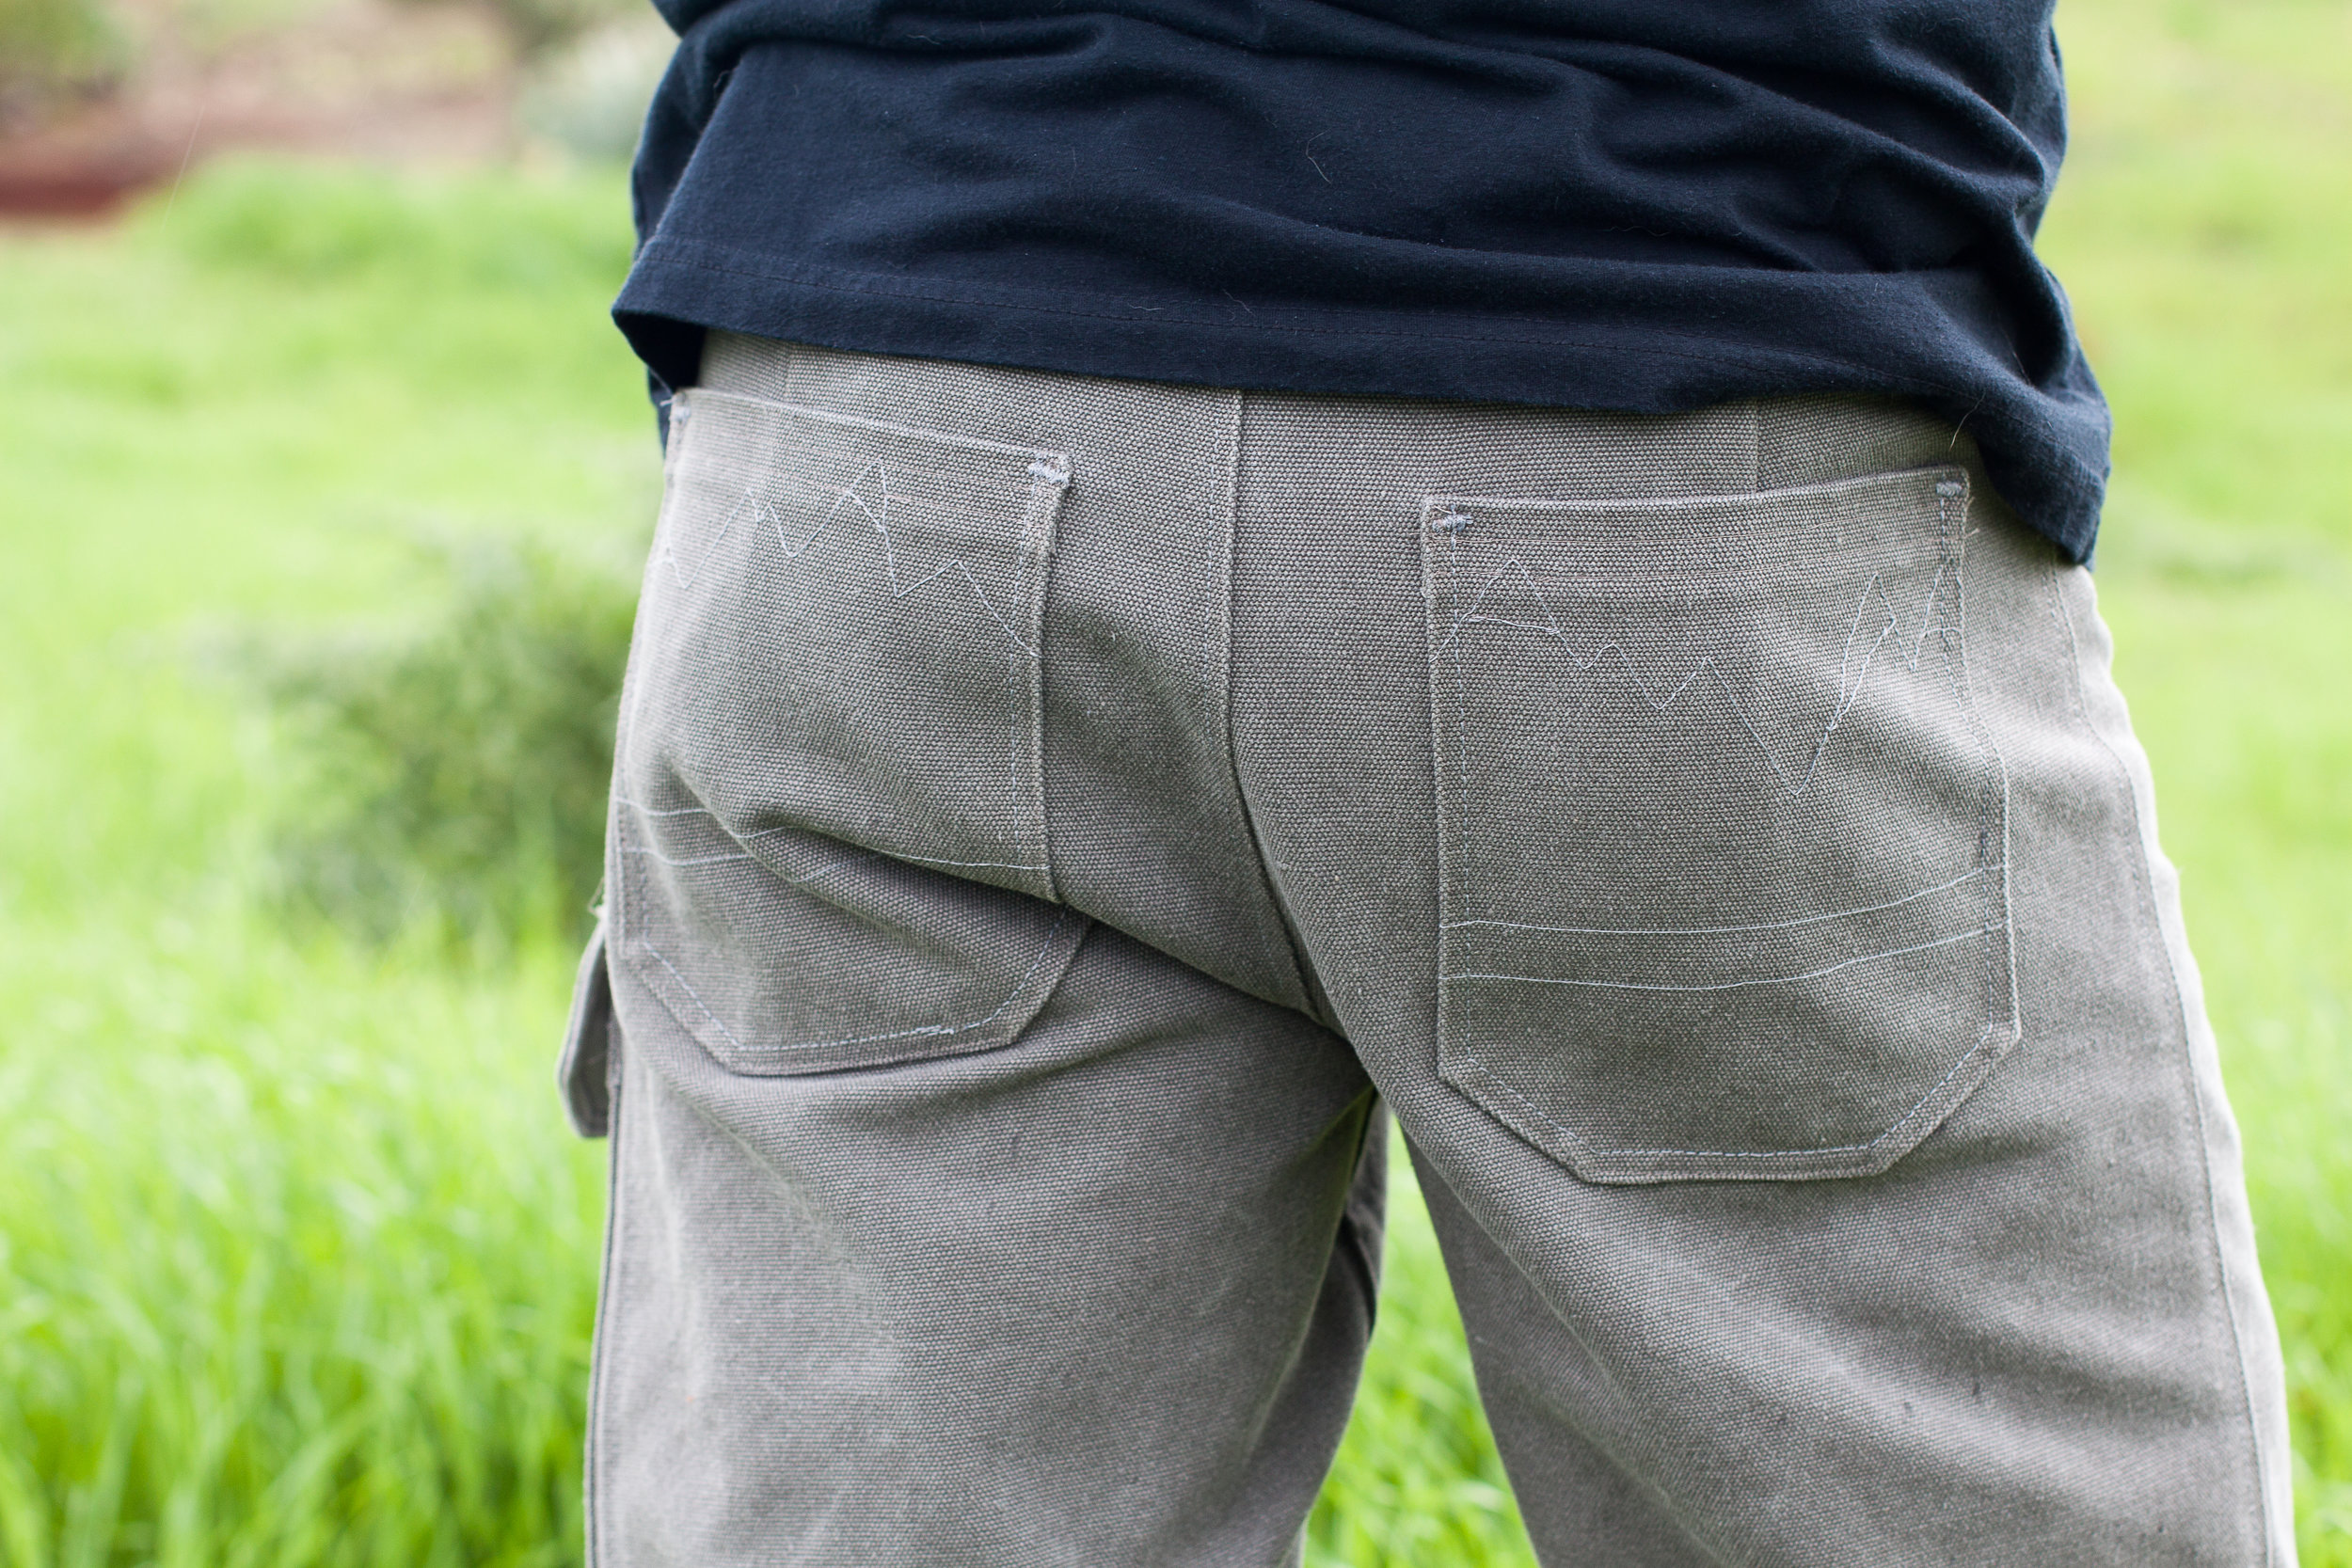
My husband asked for mountains on his back pockets. I was so happy/suprised (he usually likes things very plain) because of the mountain pockets I saw on the inspiration version of the Jutland Pants.
What I should have done? I should have drafted a curved waistband. My husband will need a swayback adjustment in most shirts, and I knew this, but still didn’t make a curved waistband. I will do that from now on.
The one other adjustment I will make next time is to move the cargo pocket more on the front of the thigh, per his request.
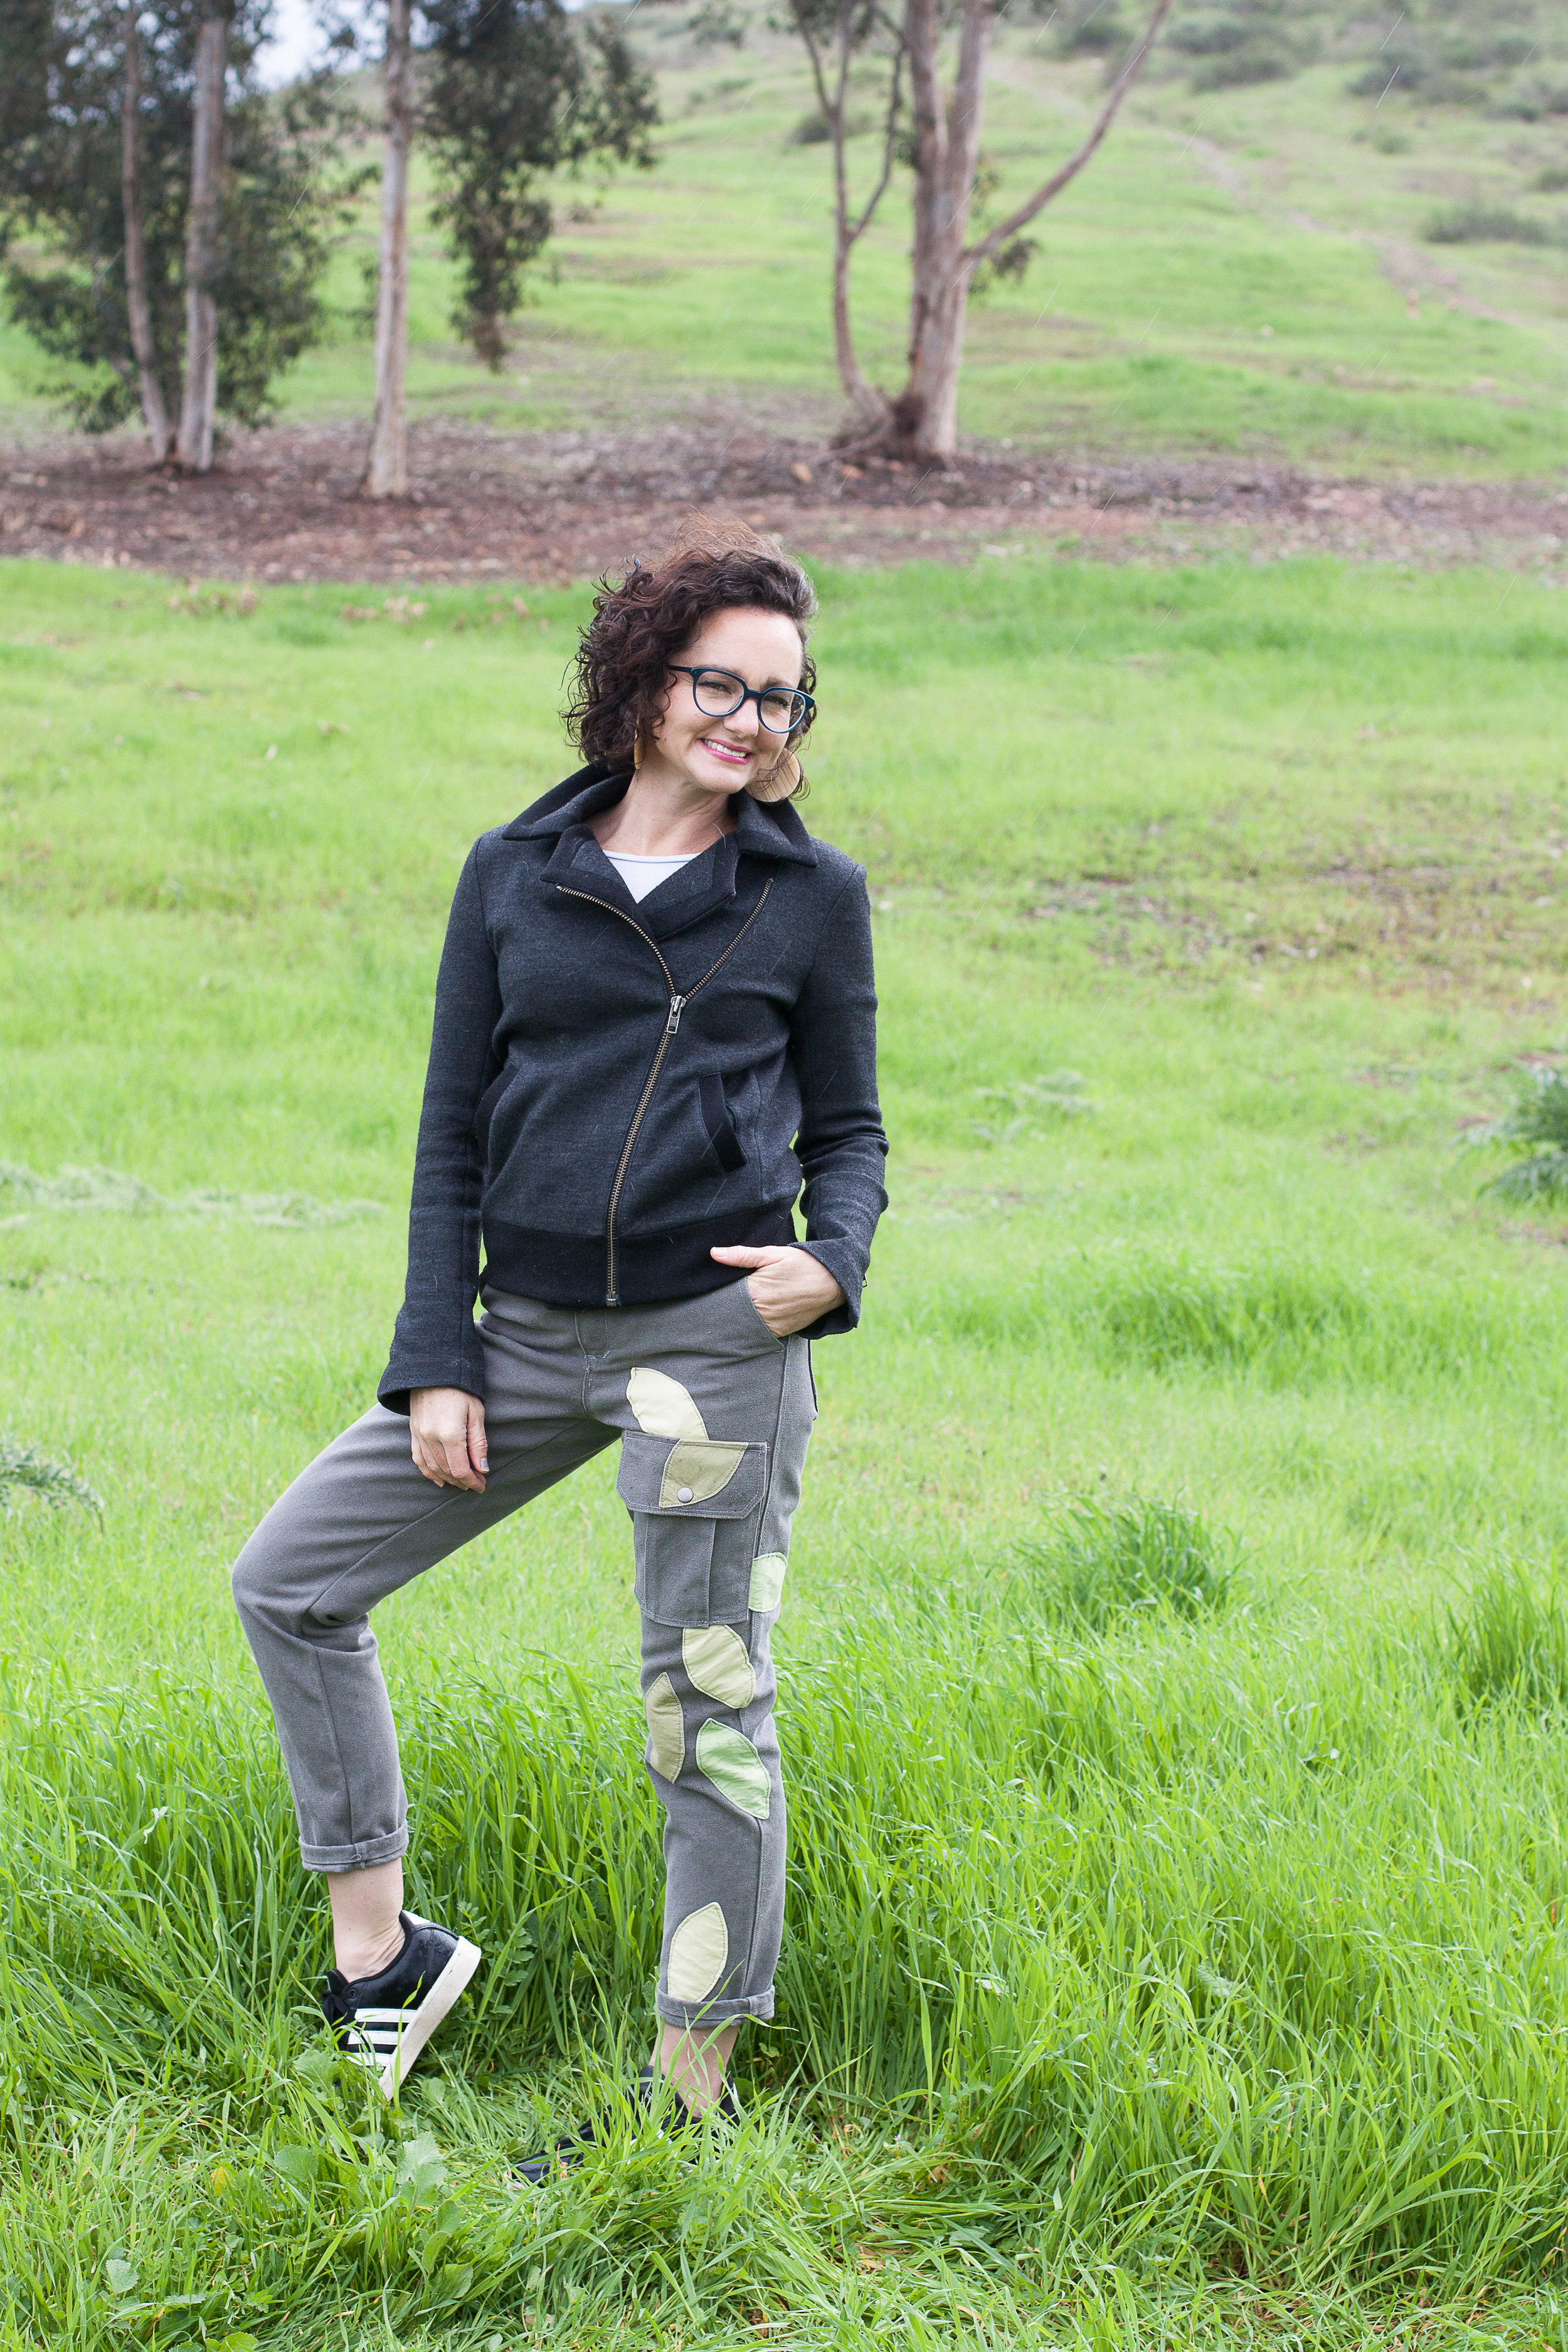

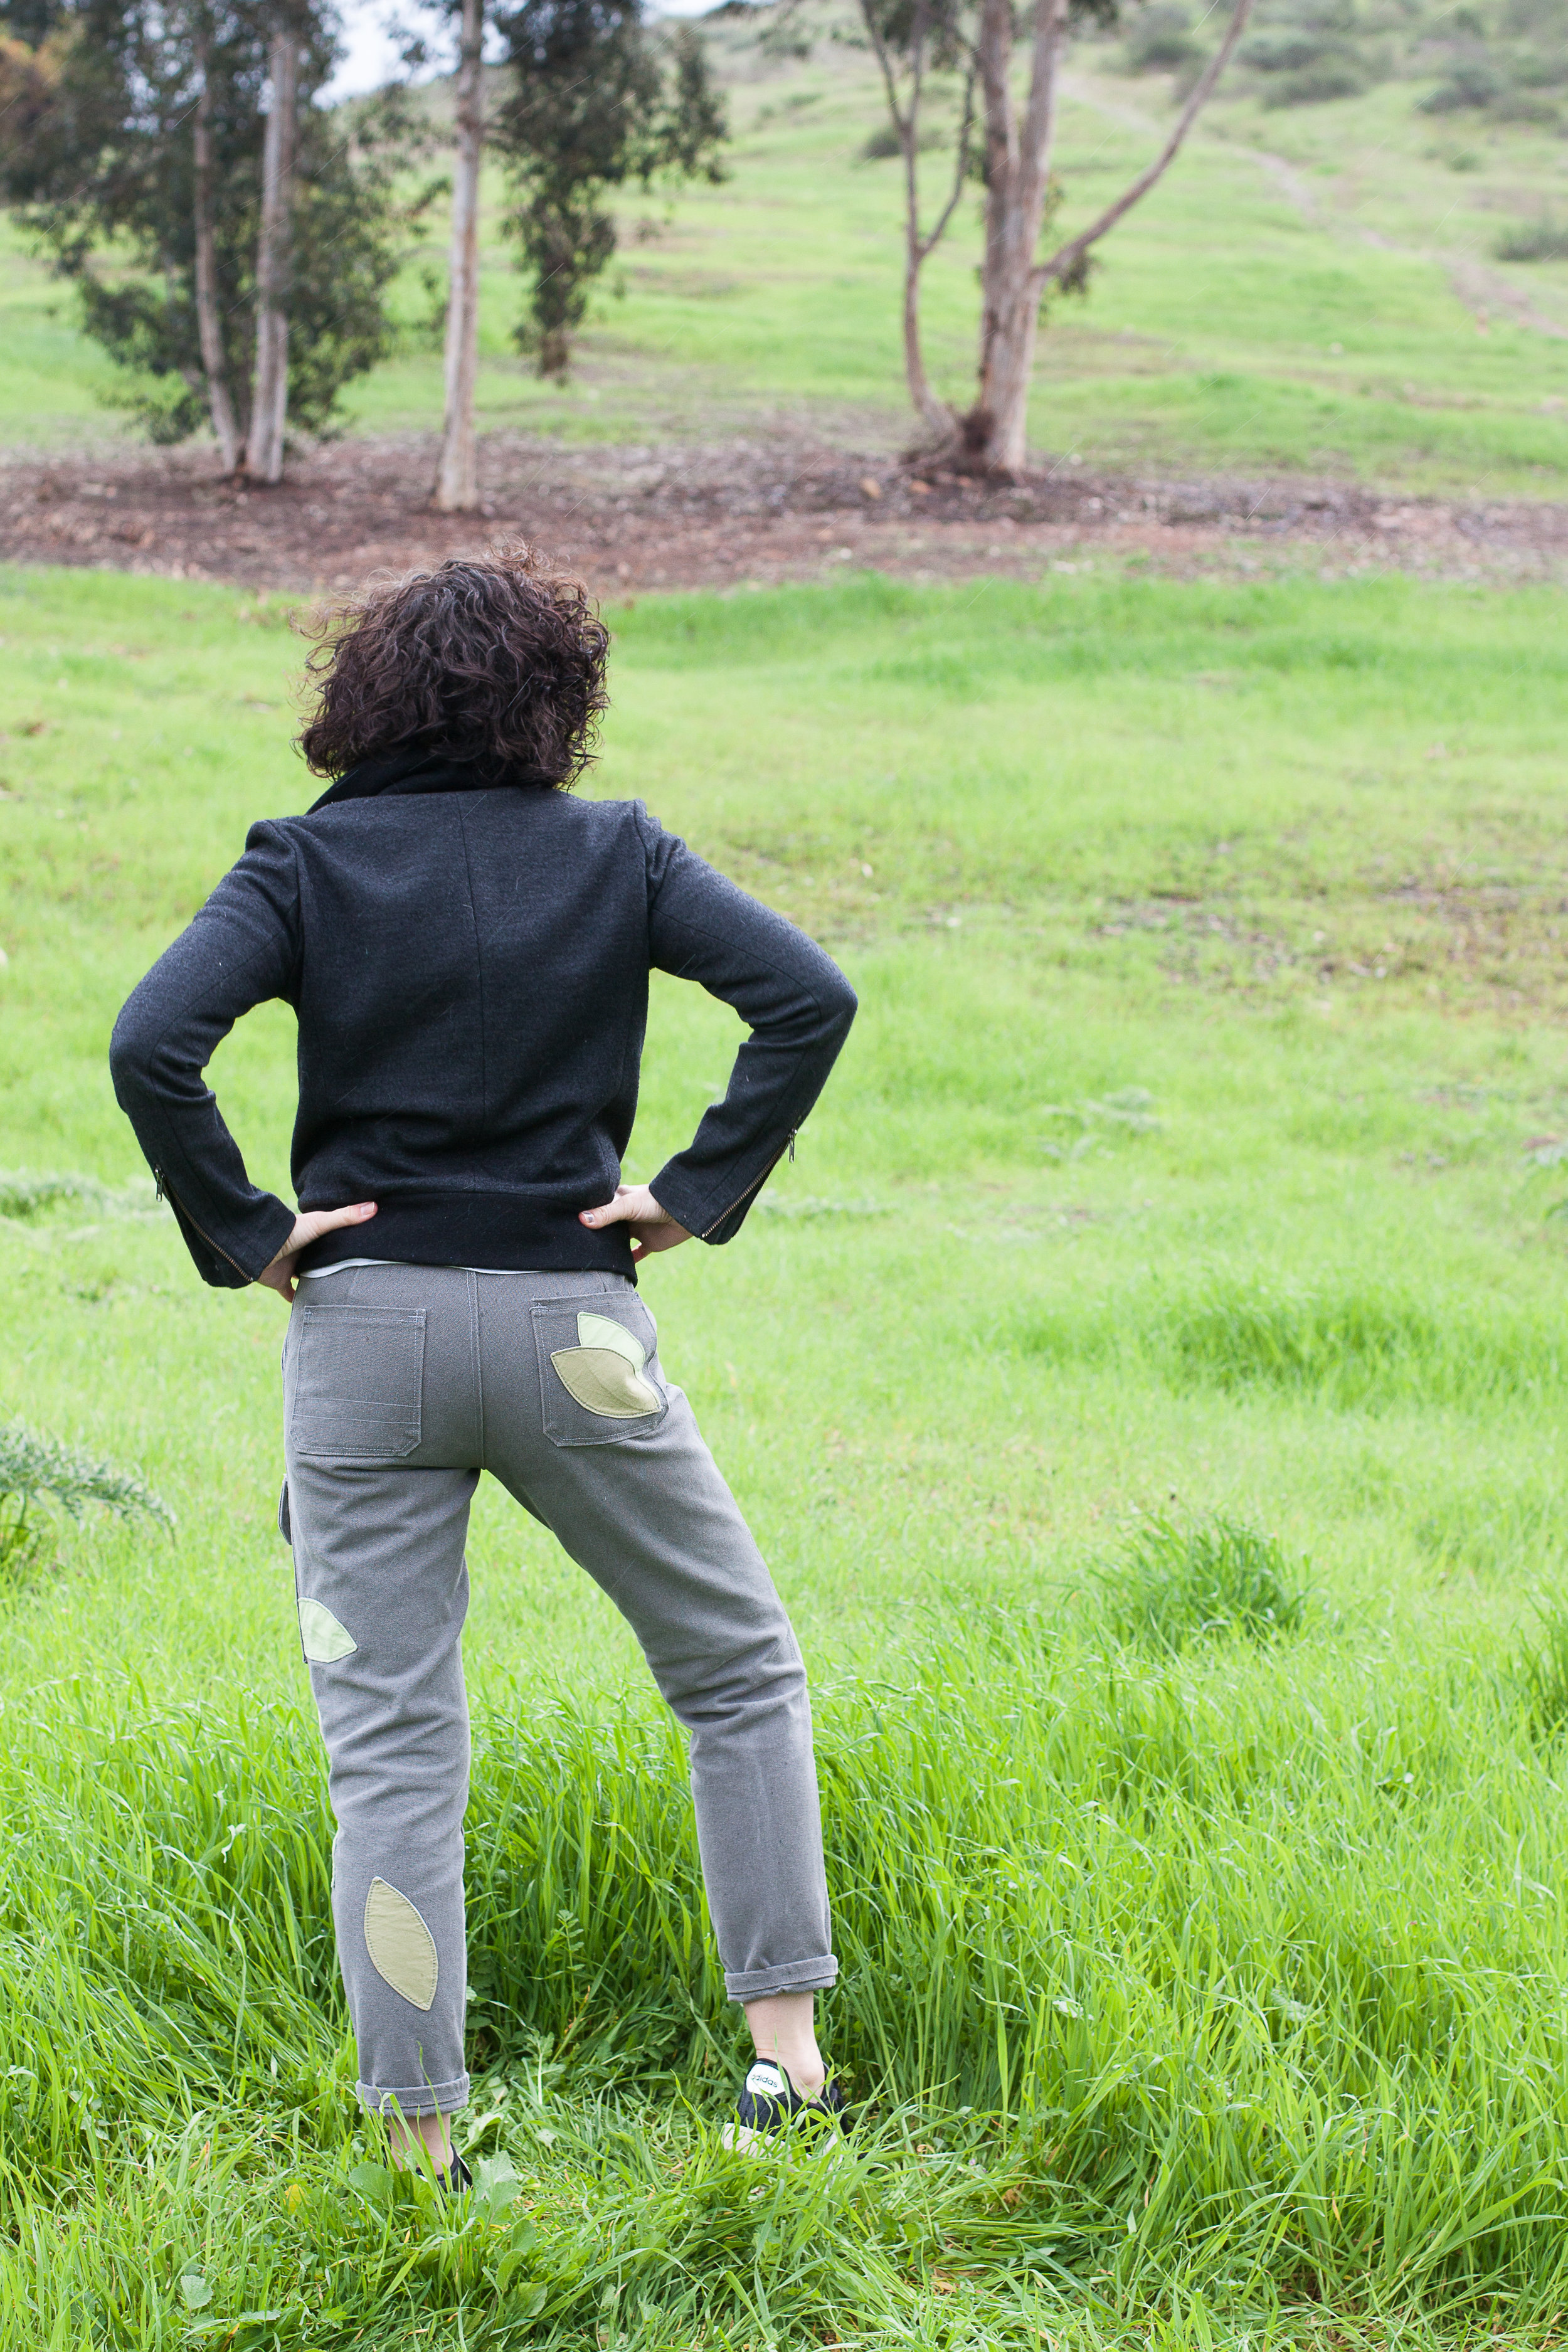
Her Pants:
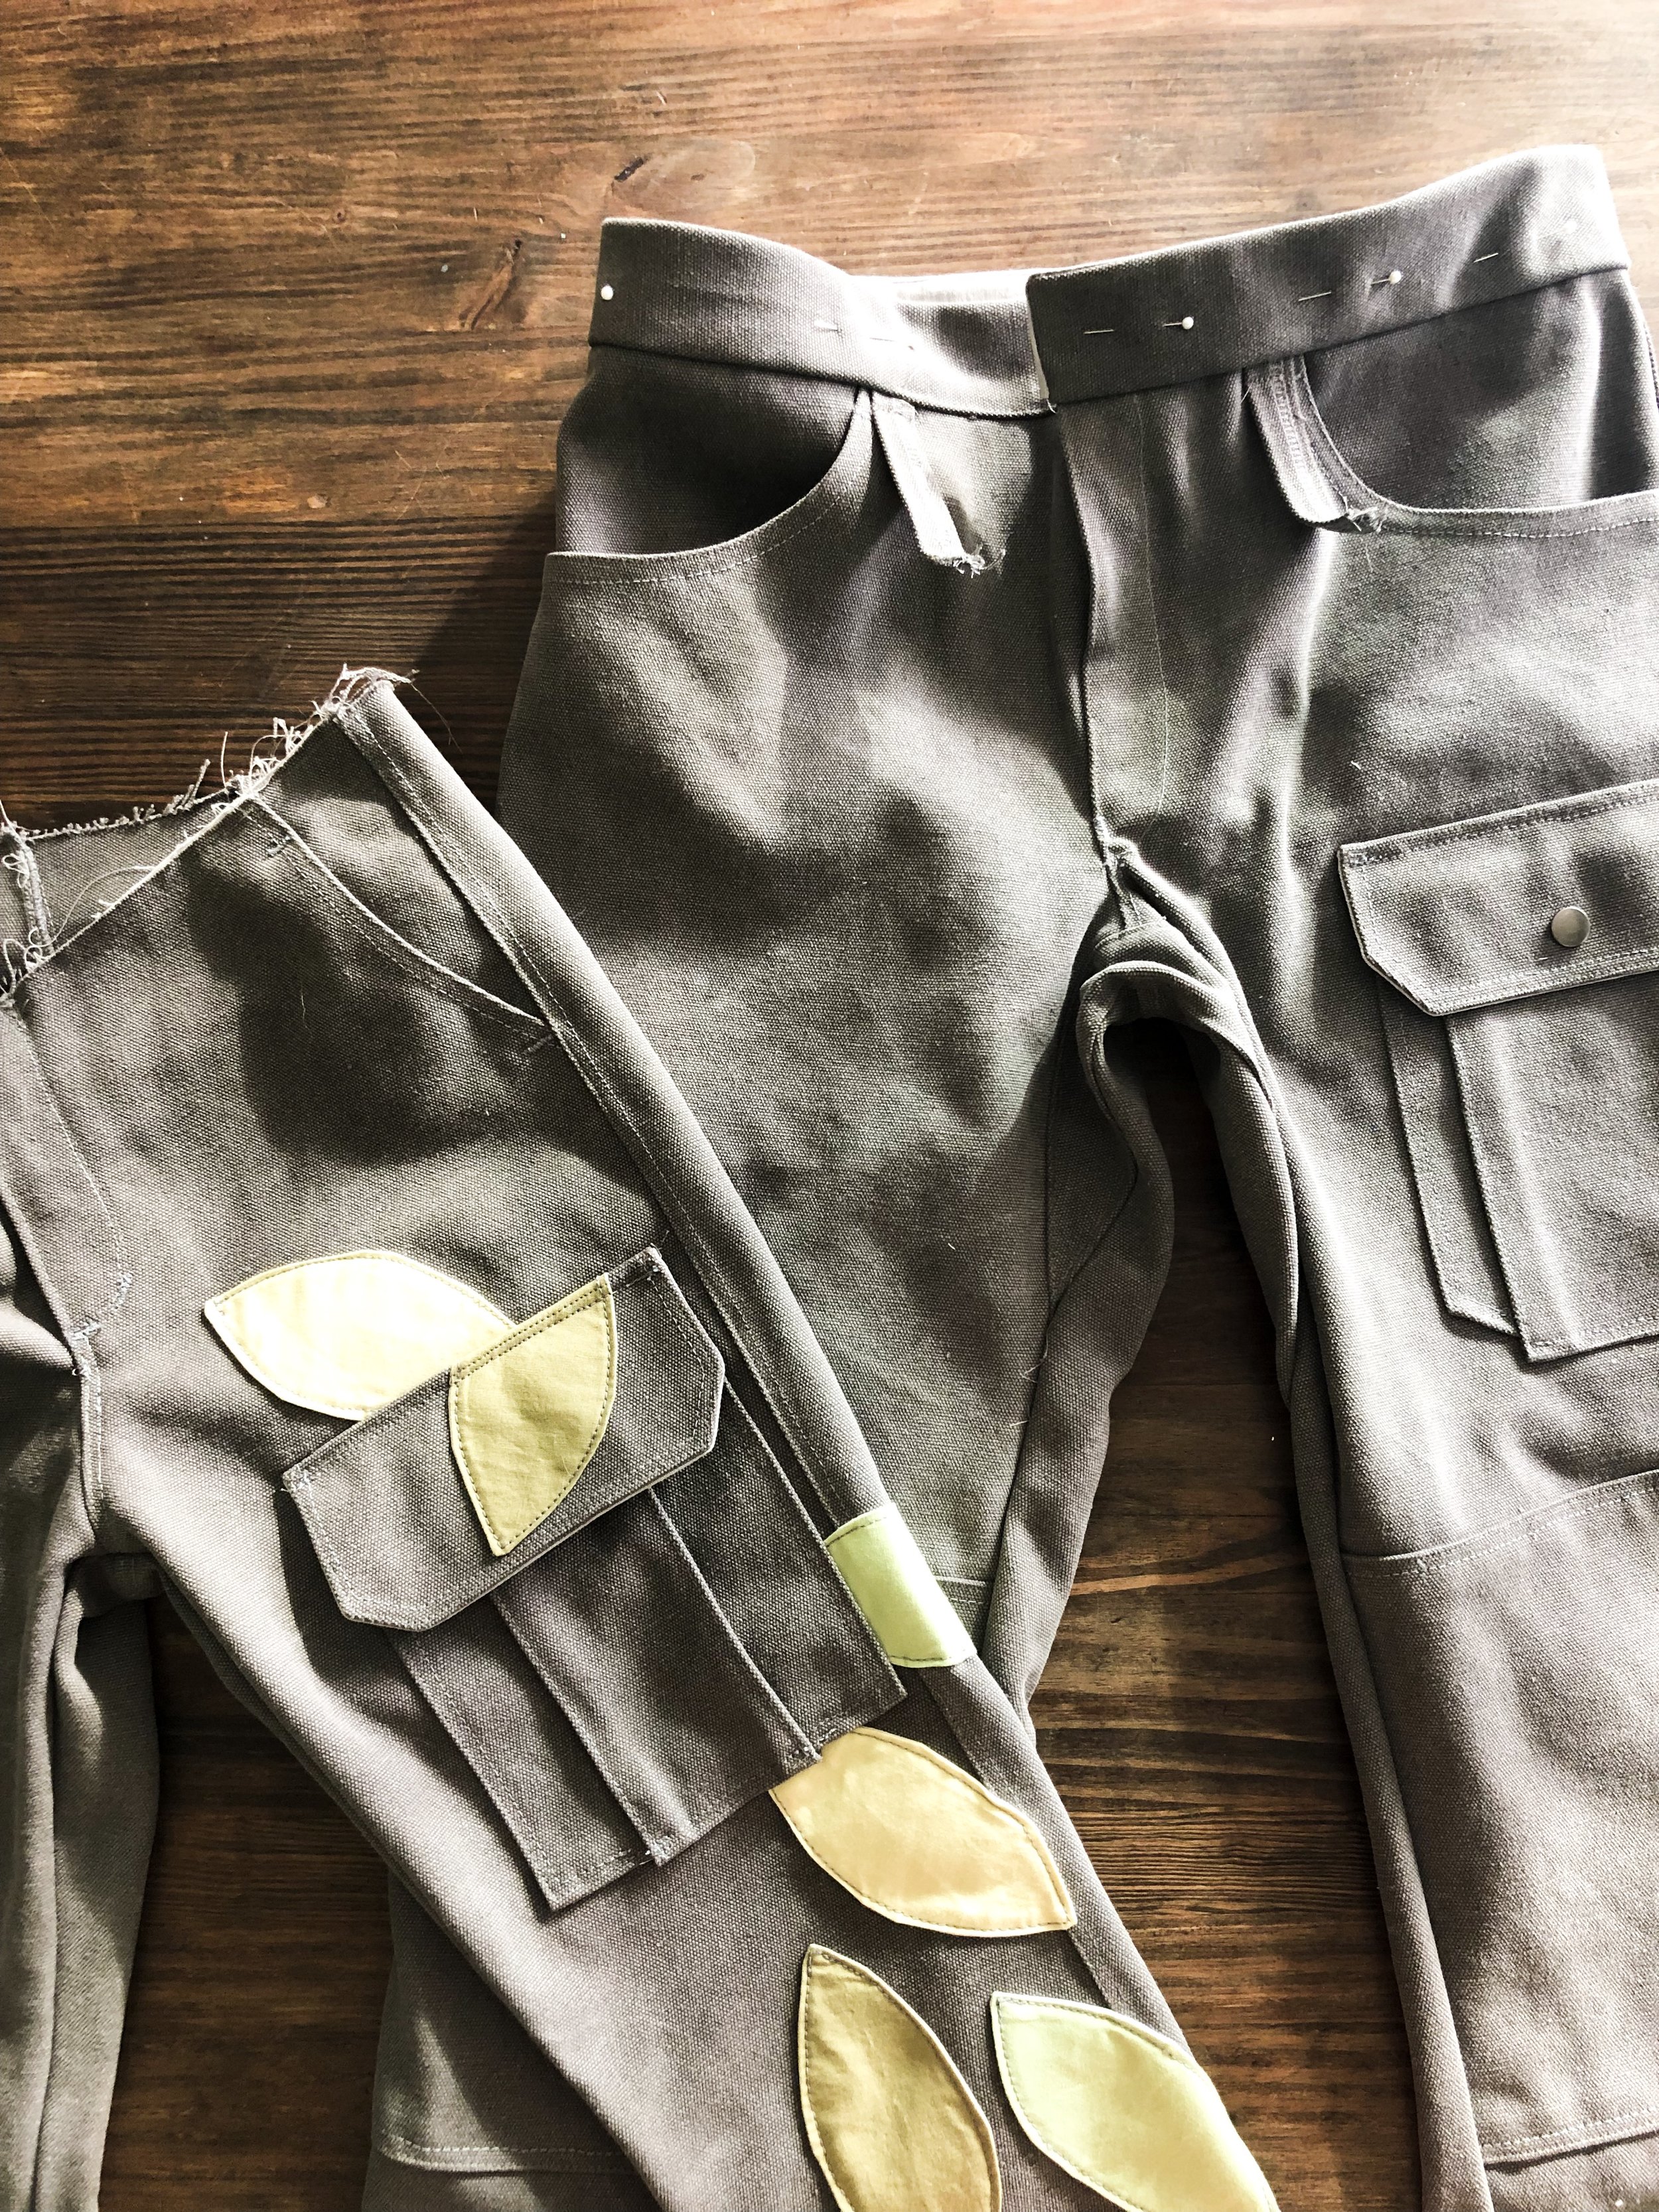
Earth: Dark gray color, rugged material able to withstand the outdoors, leaf appliqué tutorial taken from V and Co’s blog.
Heritage: WWII inspired with side pocket and durability
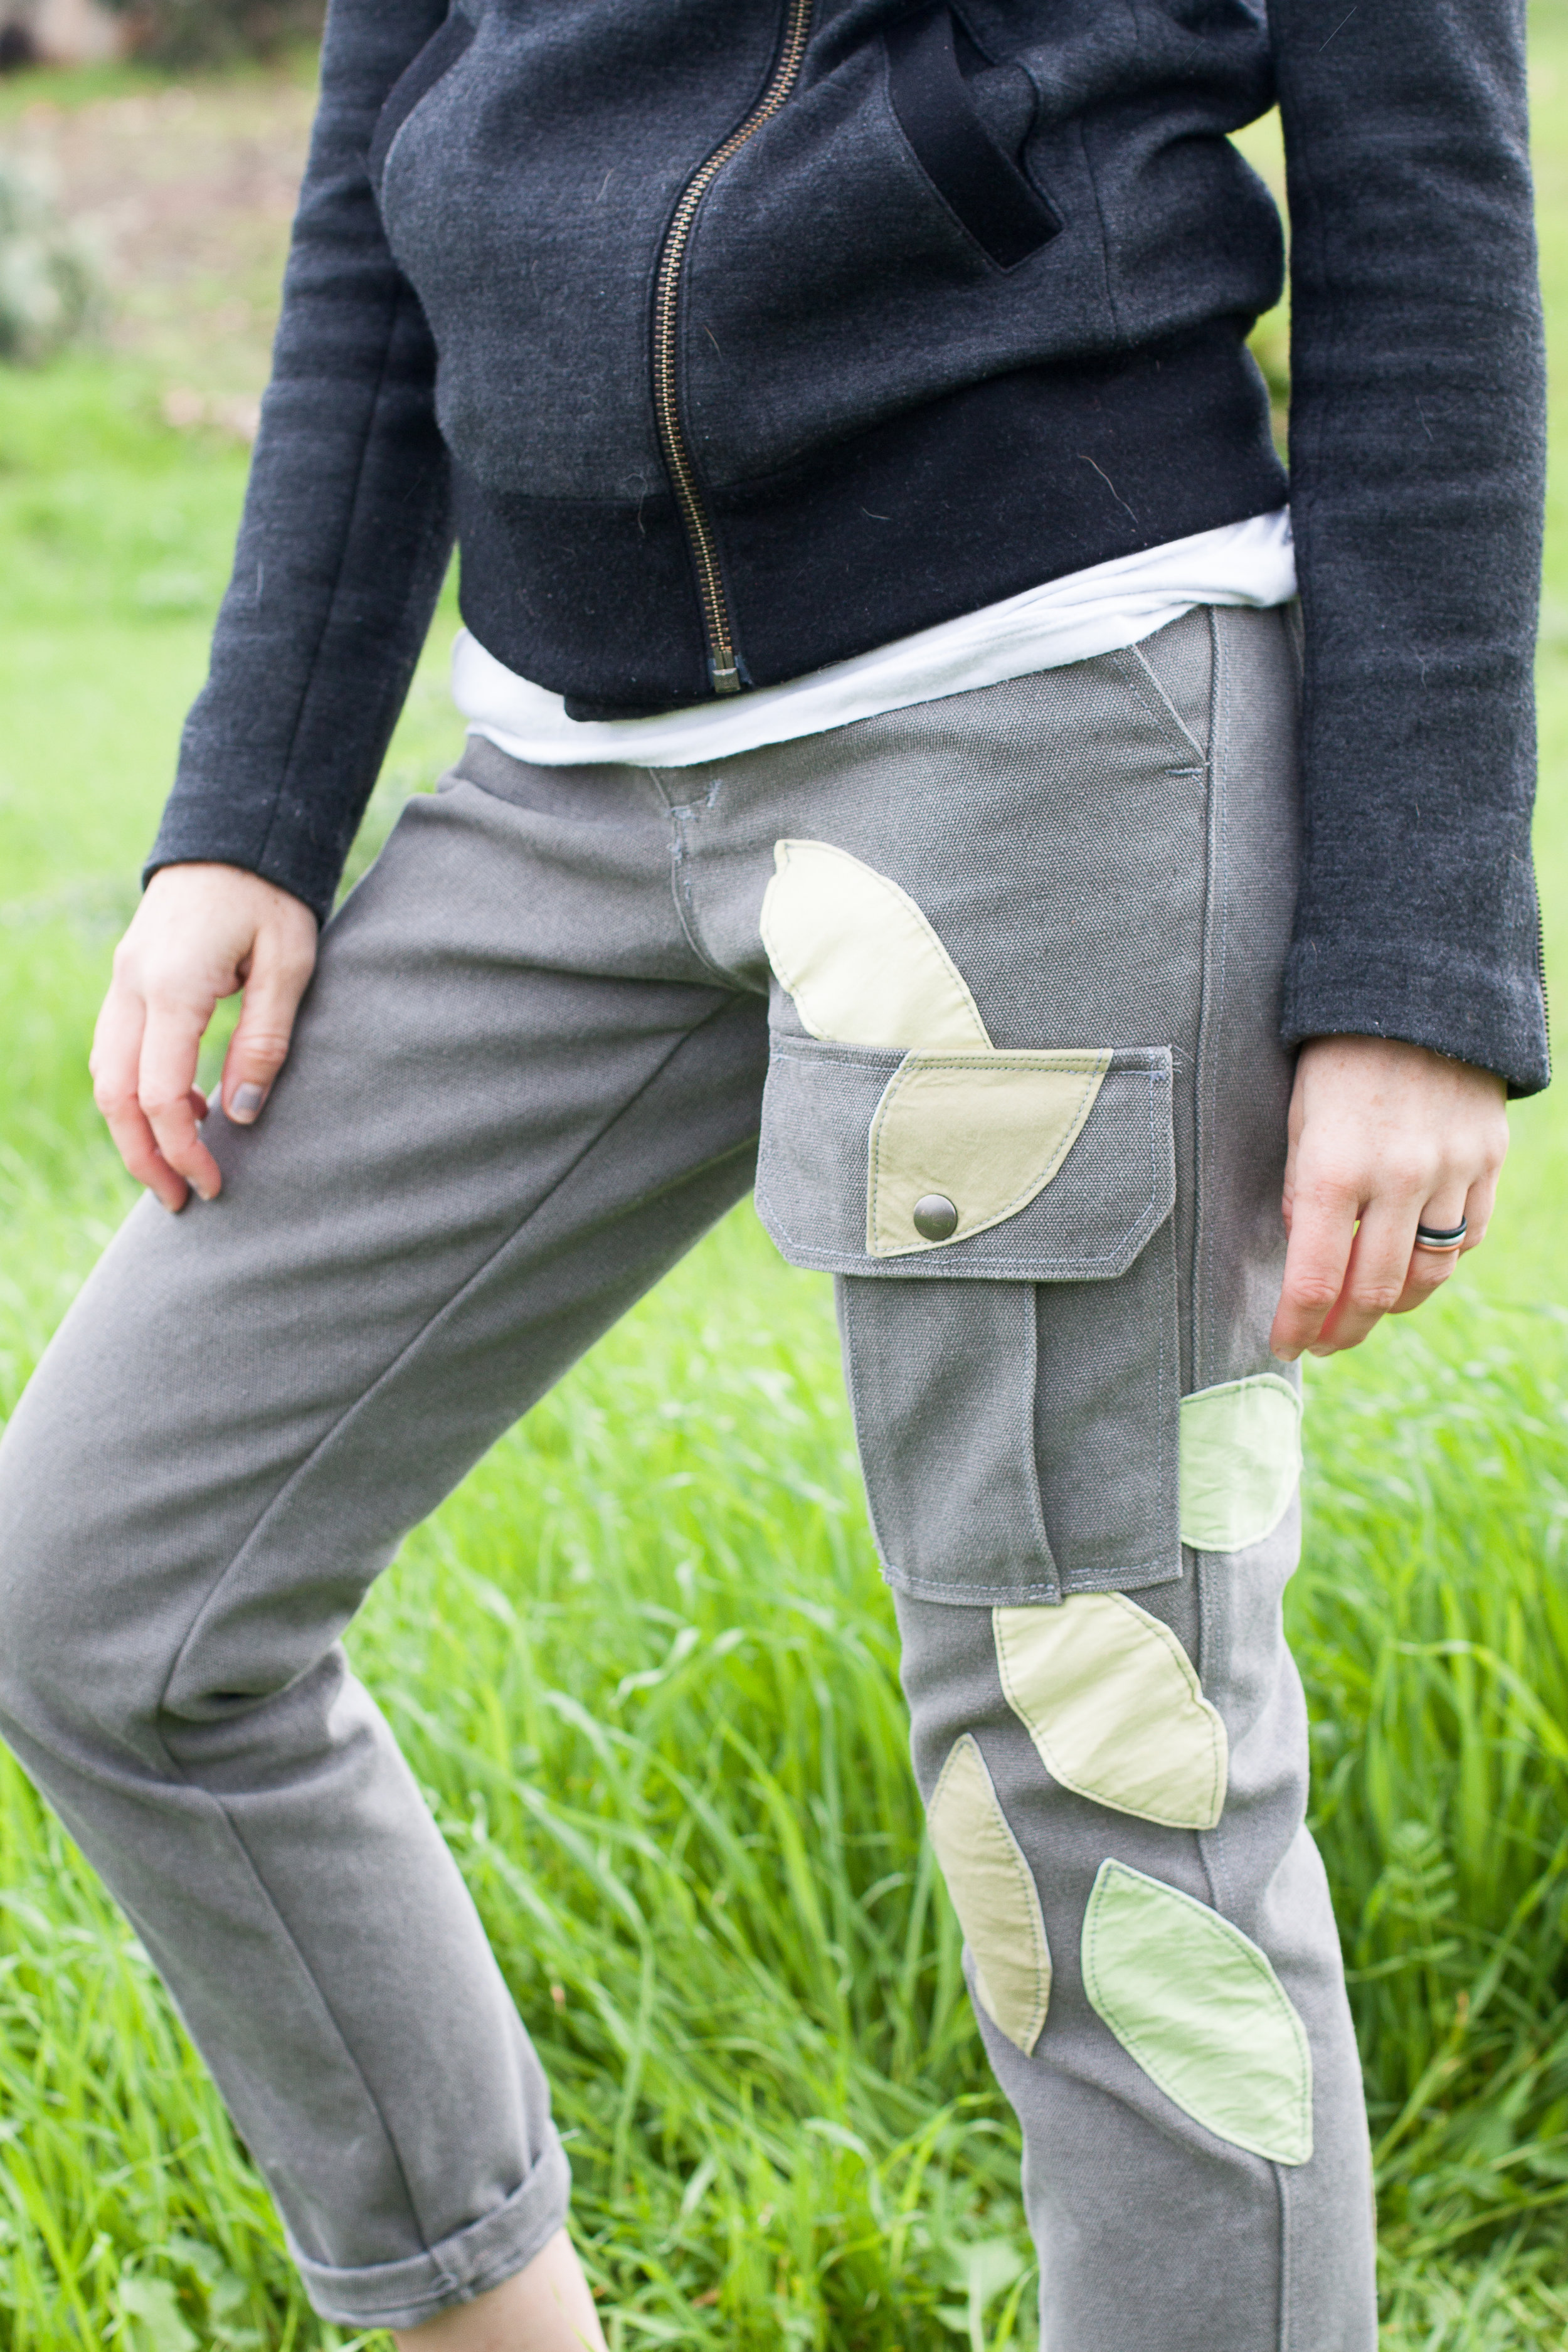
Art: Flow/placement of appliqué; applique itself
Unexpected: Leaves down my side and back of my pants - also, appliqué on pants!

Details:
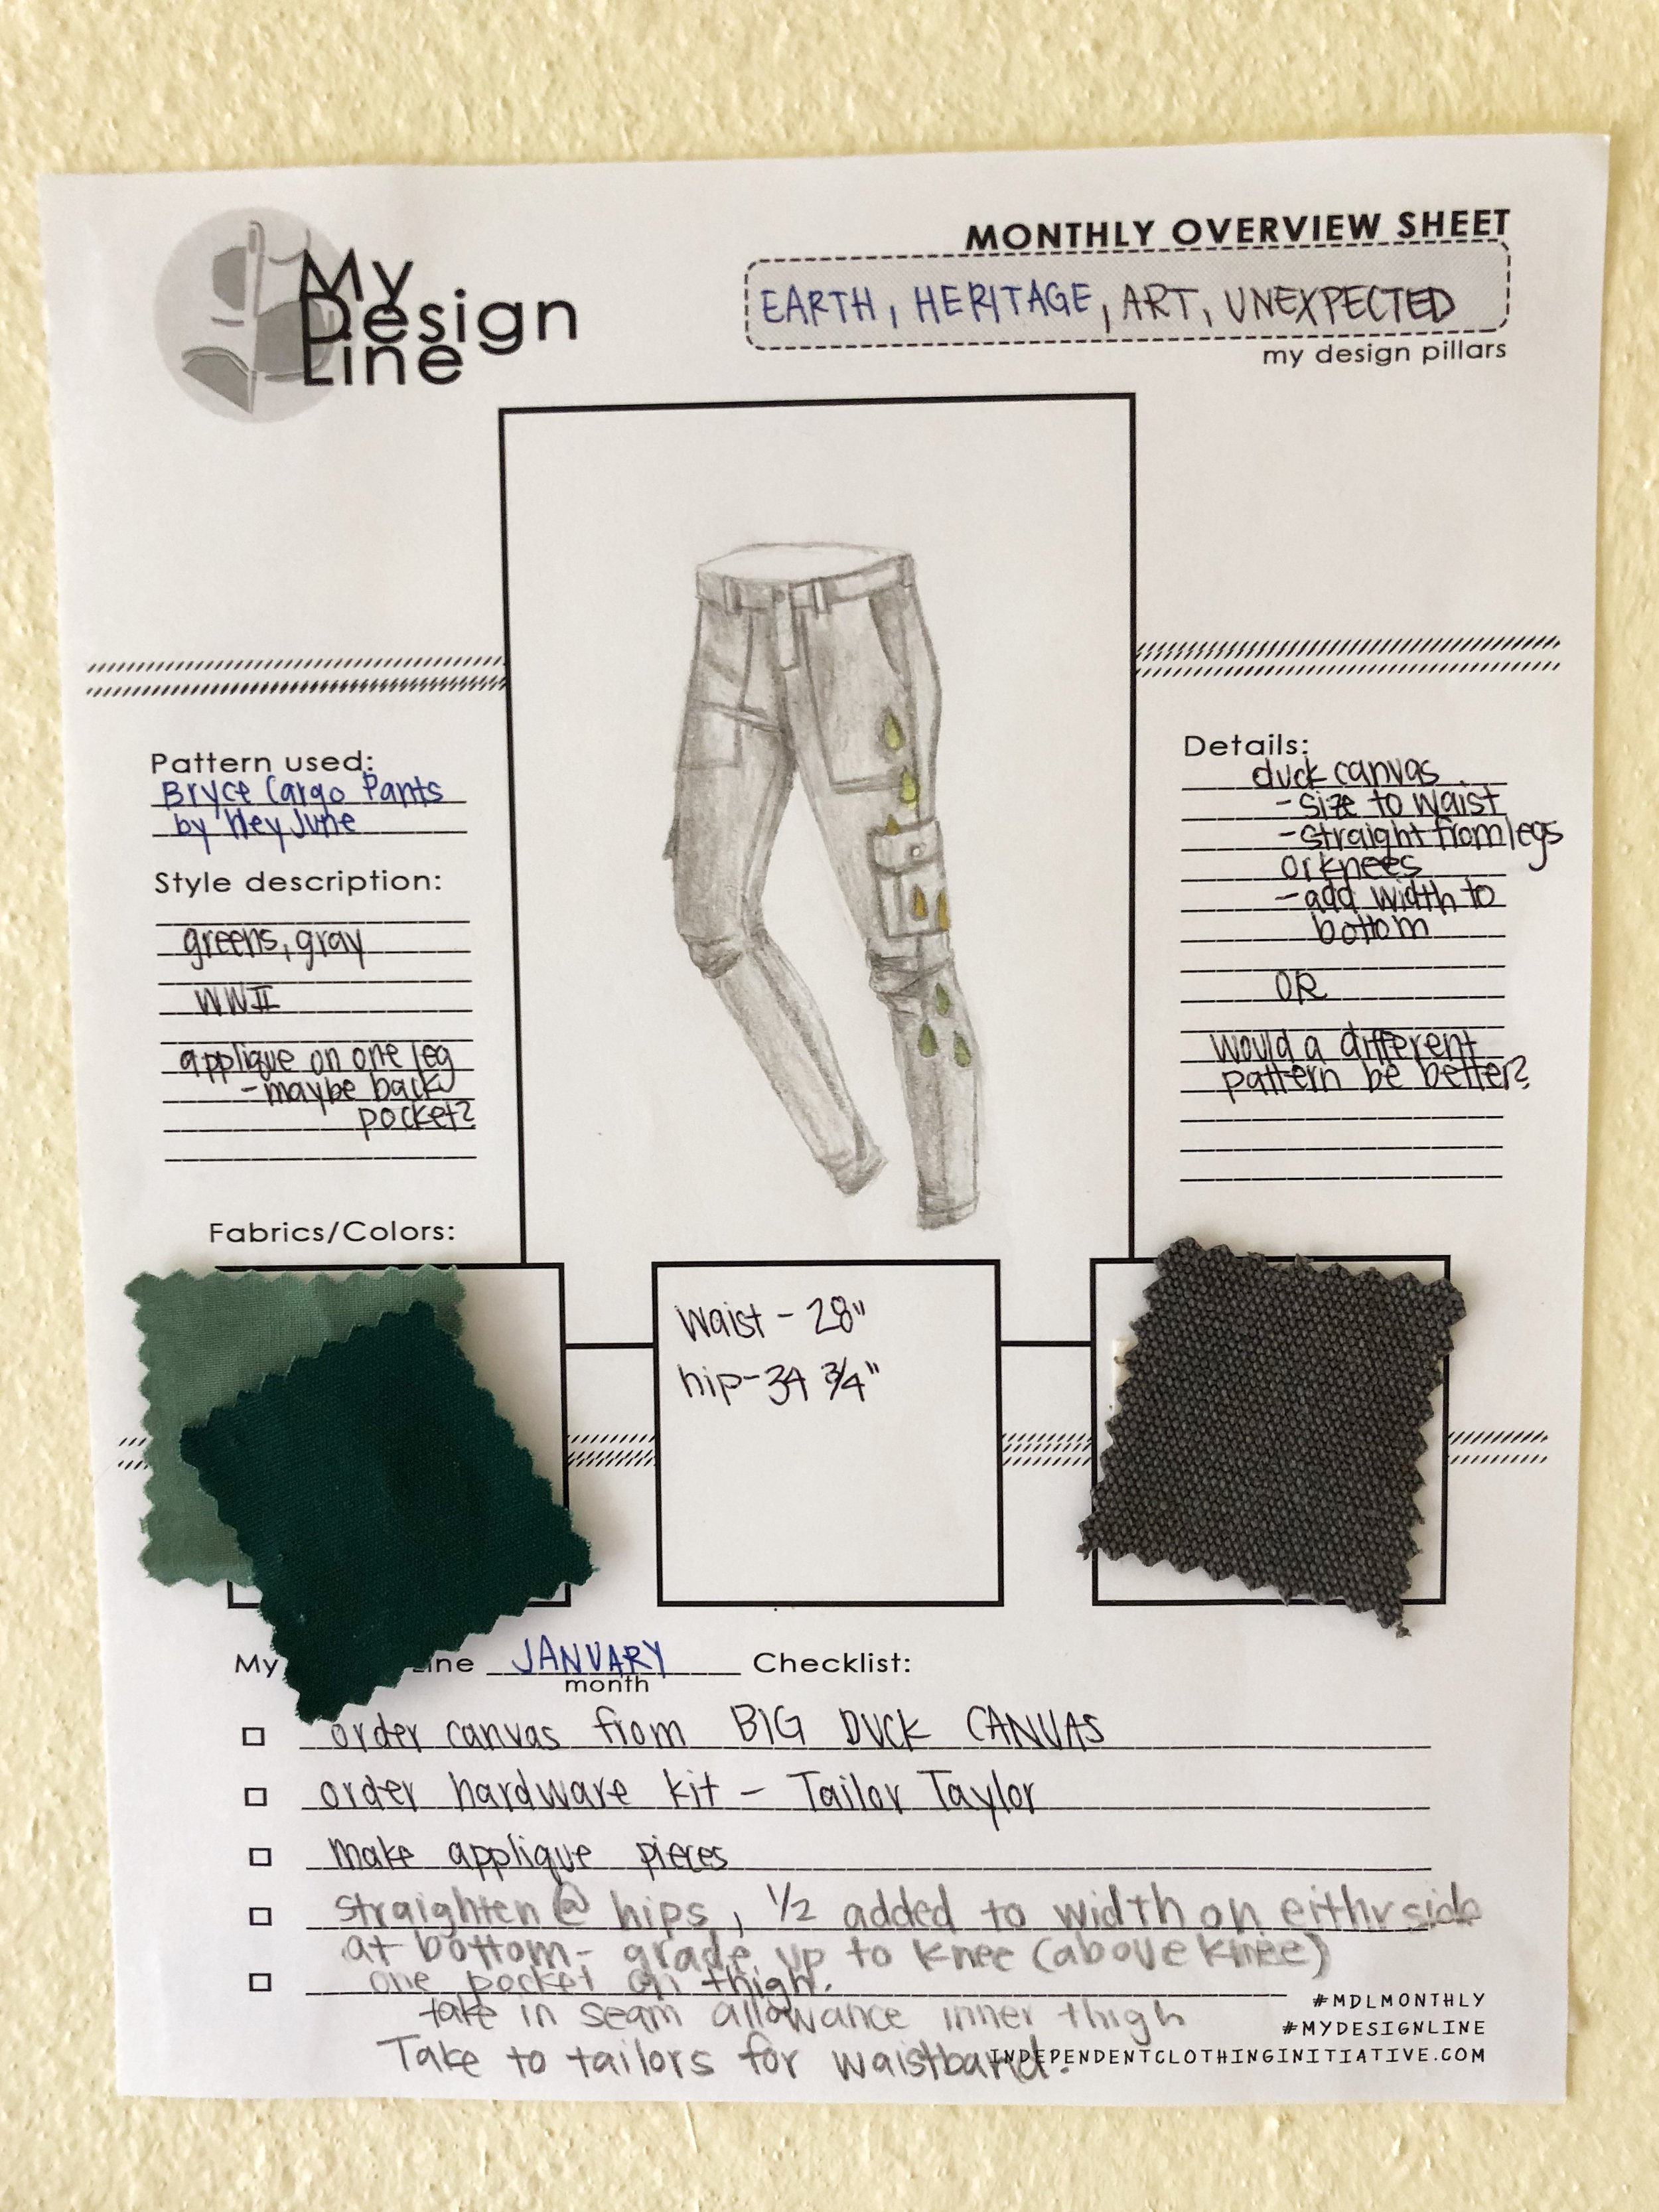
My waist is a size 8 and my hips are between as size 4-6 in the Bryce Cargo Pants. I knew I would need to size up as I asked Adrianna about the ease in these pants and she told me there is none in the hips. The pants are intended for stretch material, which this duck canvas is not.
I essentially straightened out the hips, which is a normal adjustment for me as I have none. Ha!
I added 1/2” to either side of the bottom of both the front and back leg pattern piece and graded up to just above the knee. After looking at the pattern closely, I knew with little stretch I would need more room in the legs below the knees.
In keeping with matching my husbands design I added just one cargo pocket on the thigh of the pants. And guess what… ladies… we are getting ripped-off! Having a pocket on your thigh to put your cell phone in makes bending, sitting, twisting, etc. so much easier! That and the size of the front pockets on these pants! They are a total dream!
I also took in the seam allowance by about 1/4” on the inner thigh of both pants.
I added appliqué leaves to the outside of one leg and the opposite back pocket before sewing up the pants. I also left the flaps off the back pockets.
**Special note: Hey June’s instructions for the Bryce Cargo pants are amazing!! I wish I had made them first and my husband’s second as I felt like these instructions helped to clarify a lot of the construction.
Both Pants:
My machine is old. I got it when I graduated from college back in the mid 2000s and it is a basic, entry level Elna. While it has served me well, it doesn’t even have a lighting stitch. It could not handle the many thick layers of the waistband. As such, I took it to a local tailor with an industrial machine. It was hard because taking it to the tailor gave away my control over my timeline, and how the waistband would come together. I also was surprised at the $65 price tag for sewing two waistbands (they were already attached on the outside, pressed, folded over and pinned so that they were ready for the final sew). I asked for the belt loops, also already attached, to be sewn to the upper waistband. Long story short, I won’t use a tailor again. The idea behind Independent Clothing Initiative is to recognize the ability and joy that comes from being our own master - from being exactly who we are, while reaching for the stars. I will try harder to ask friends to use their machines, or get the tools myself that I need next time.
All in all, I loved making pants so much for my husband and myself this month, and I look forward to what next month will bring as I make our second My Design Line garments - flannel shirts!